TV Stand Size for a Wall‑Mounted TV: Exact Width, Height, and Depth Rules
Get the exact TV stand size for a wall‑mounted TV. Clear rules, formulas, a size chart, and real-world tips for width, height, depth, and cable hiding.
Ever bought a media console that looks great in the catalog but then realizes it either dwarfs your TV or leaves a huge gap? It happens more than you think. The key is measuring, matching, and visualising before you click ‘add to cart’. Below are the steps that will help you get a console that feels just right.
Start by measuring the wall where the console will sit. Grab a tape measure and note the total width, but also the *usable* width – you’ll want a few inches of breathing room on each side so the piece doesn’t feel cramped. Next, measure the height from floor to where you want the TV to sit. Most people keep the TV eye‑level, which usually means the console sits about 20‑30 cm off the floor. Write these numbers down; you’ll refer to them when checking product specs.
Don’t forget the depth. A shallow console (around 40 cm) works well in tight rooms, while a deeper one (45‑50 cm) gives room for a soundbar or gaming gear. If you have a rug, measure its front edge to the wall; the console should sit comfortably on the rug without covering it.
Now look at your TV size. A good rule of thumb: the console should be at least as wide as the TV’s screen, but no more than 1.5 times the screen width. For a 55‑inch TV (about 122 cm wide), aim for a console between 122 cm and 180 cm. This keeps the TV centered and gives a balanced look.
Next, consider the sofa. If your sofa sits directly opposite the TV, the console’s width should align with the sofa’s armrest line. When the sofa is wider than the TV, you might choose a console that matches the sofa’s width for a cohesive feel. If the sofa is narrower, a console that’s a bit wider than both the TV and sofa adds visual weight and prevents the TV from looking “floating”.
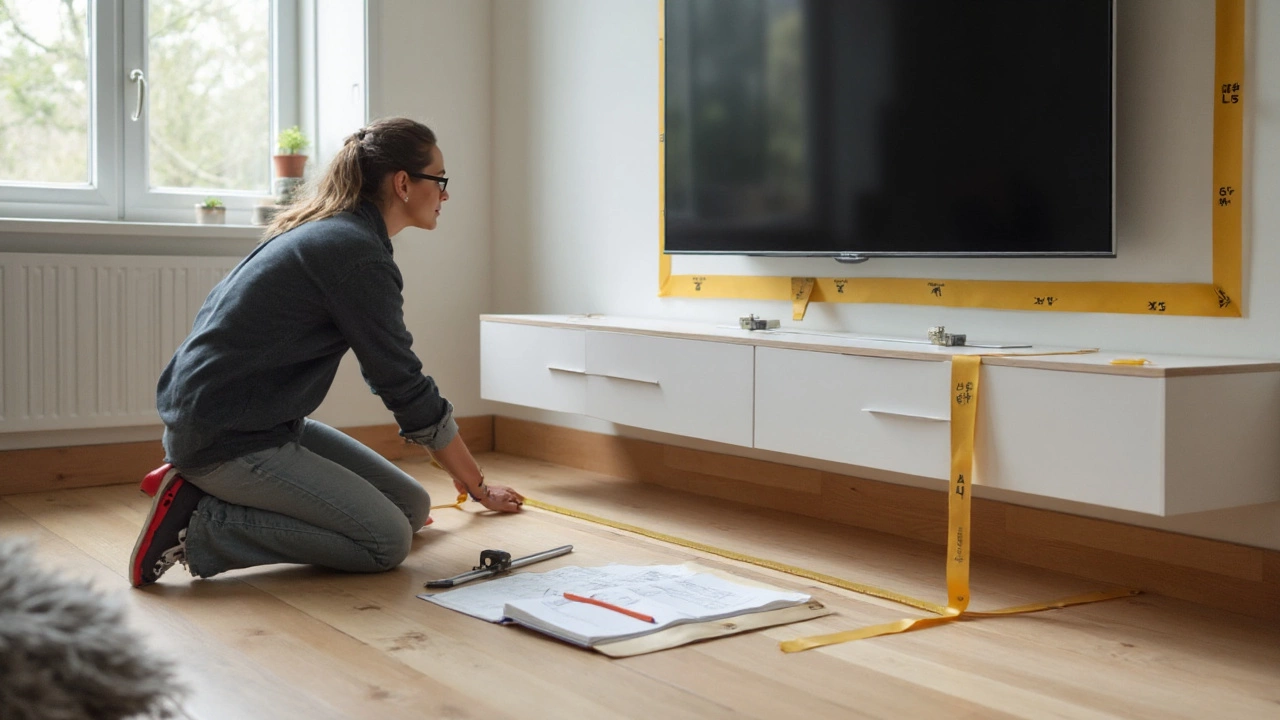
Pro tip: use painter’s tape on the floor to outline the console’s footprint. Stand back and see how the shape works with the rest of the room. If it looks off‑center or pushes other furniture into awkward spots, adjust your dimensions before buying.
Lastly, think about storage needs. If you need space for gaming consoles, DVDs, or a sound system, add at least 10‑15 cm to the depth you measured. Some consoles have adjustable shelves that can accommodate larger items without widening the piece.
Putting these steps together means you’ll end up with a media console that feels built‑in rather than bolted on. It won’t overwhelm the room, won’t hide the TV, and will give you enough storage for all your tech.
Ready to shop? Use the measurements you recorded, compare them to product listings, and double‑check the listed dimensions (width × depth × height). If the numbers line up, you’ve found a console that fits like a glove. If you’re still on the fence, remember that a little extra width is easier to live with than a piece that’s too short – you can always fill the gaps with side lamps or decorative boxes.
Choosing the right media console width isn’t rocket science – it’s just a bit of measuring, matching, and visualising. Follow the steps above and you’ll walk away with a piece that makes your TV look its best and your living room feel balanced.
Get the exact TV stand size for a wall‑mounted TV. Clear rules, formulas, a size chart, and real-world tips for width, height, depth, and cable hiding.