How to Install a Stand on Your Smart TV - Step‑by‑Step Guide
Learn how to safely install a stand on your smart TV with step‑by‑step instructions, tool lists, common mistakes, and maintenance tips for a clean, stable setup.
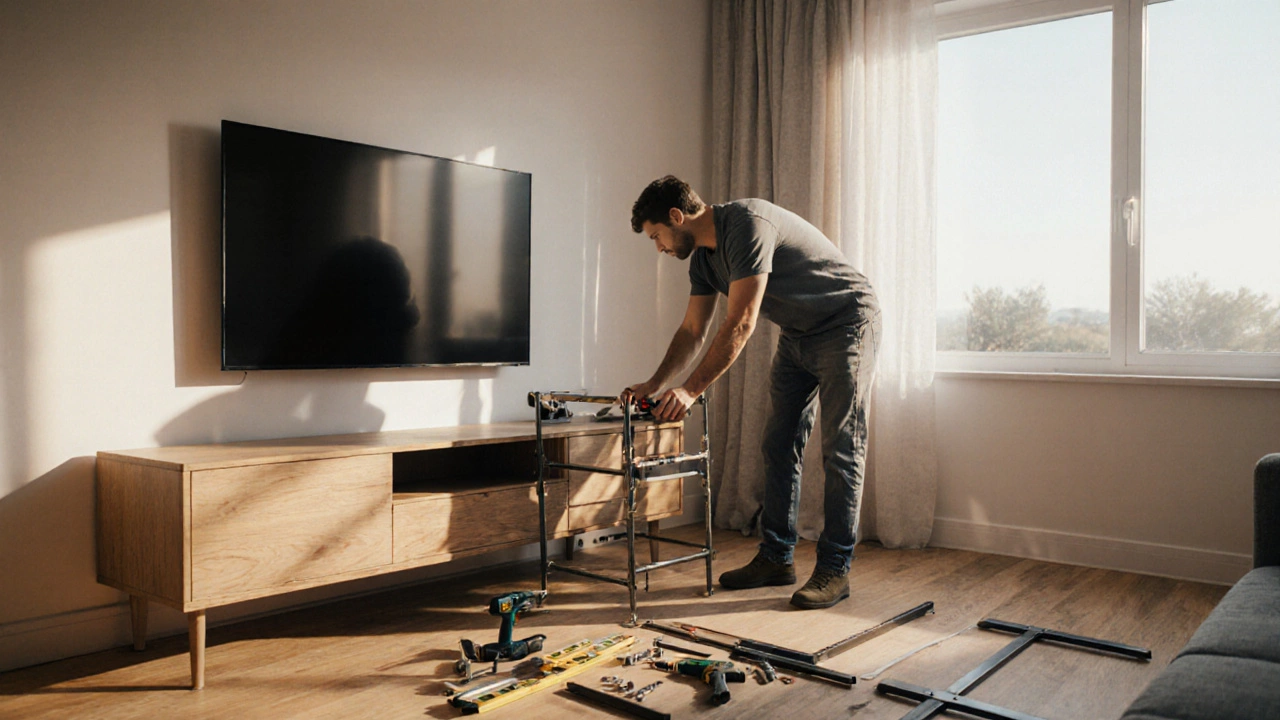
Putting a TV stand together can feel like a DIY puzzle, but it doesn’t have to be stressful. Whether you’re setting up a sleek wall‑mounted console or a freestanding media unit, the right approach saves time and protects your TV. Grab a screwdriver, read the checklist below, and you’ll have a sturdy stand in no time.
Before you even open the box, measure the width of your TV and note the height you want the screen to sit at eye level. A good rule of thumb is that the stand should be at least 2‑3 inches wider than the TV to keep it stable. Check the weight rating, especially for wall‑mounted options – the bracket must support the TV’s pounds without sagging.
If you have cord clutter, look for a stand with built‑in cable management. Many modern consoles hide wires behind a panel or have a hole at the back for routing cables. This keeps the area neat and reduces tripping hazards.
1. Gather tools. You’ll need a drill, a level, a screwdriver (usually Phillips), a stud finder for wall mounting, and the hardware that came with the stand.
2. Prepare the wall or floor. For a wall‑mounted stand, locate studs using the stud finder and mark where the brackets will go. If you’re using a freestanding unit, clear the floor space and place a protective mat if the floor is delicate.
3. Attach the mounting brackets. Align the bracket holes with the marked studs, drill pilot holes, then secure the brackets with the supplied screws. Use the level to make sure the brackets are perfectly horizontal – a tilted TV looks sloppy and can strain the mounting hardware.
4. Hang the TV. This step is easier with a partner. Lift the TV onto the brackets, making sure the mounting holes on the back of the TV line up with the brackets. Tighten the set‑screws to lock the TV in place.
5. Secure the stand itself. If you’re using a freestanding console, assemble the frame according to the instructions: attach side panels, then the top shelf, and finally secure the back panel. Double‑check that all screws are tight before placing the TV.
6. Manage the cables. Run HDMI, power, and any audio cables through the cable‑management holes or behind the stand. Bundle excess length with zip ties for a clean look.
7. Test everything. Turn the TV on, flip through a few channels, and make sure the picture isn’t wobbling. Adjust the tilt or swivel if the stand offers those features.
Now you’re done! A properly installed TV stand not only looks great but also protects your equipment for years to come. If anything feels loose, tighten the screws again – the extra effort prevents future problems.
Remember, safety comes first. If you’re unsure about drilling into a wall or lifting a heavy TV, don’t hesitate to ask a friend or hire a professional. A small investment in help now saves you from potential damage later.
Enjoy your new setup, and feel free to experiment with decorative items on the console. A few picture frames or a plant can turn a plain stand into a centerpiece that reflects your style.
Learn how to safely install a stand on your smart TV with step‑by‑step instructions, tool lists, common mistakes, and maintenance tips for a clean, stable setup.