Storage Unit Flooring Advisor
Select your storage conditions below to get a customized recommendation for protecting your belongings from moisture, pests, and temperature fluctuations.
Your Ideal Flooring Strategy
Recommended Primary Material:
Loading...
Essential Layering Steps:
Pro Tip:
You’ve rented a unit. You’ve hauled your boxes in. Now you’re standing on cold, damp concrete, wondering if your vintage leather jacket or your grandmother’s china will survive the winter. Here’s the uncomfortable truth: most storage units are not climate-controlled fortresses. They are drafty boxes with concrete floors that sweat. If you place your belongings directly on that slab, you’re inviting moisture, pests, and temperature fluctuations to ruin your stuff.
So, what do you actually put down? It’s not just about throwing a rug over it. The right storage unit flooring is a strategic layer that protects your assets from the ground up. Whether you’re storing seasonal gear, business inventory, or household moves, understanding how to create a barrier between your items and the concrete is the single best thing you can do for long-term preservation.
Why Concrete Floors Are Your Biggest Enemy
Concrete looks solid, but it’s porous. In Wellington, where humidity swings wildly, that slab acts like a sponge. It pulls moisture from the air and holds it against whatever sits on top of it. This process, known as wicking, means even if your box doesn’t look wet, the cardboard bottom might be absorbing enough water to weaken its structure or transfer mold spores to your clothes.
Beyond moisture, there’s the issue of cleanliness. Storage facilities aren’t always swept daily. Dust, rodent droppings, and spilled liquids from previous tenants linger on the surface. Placing items directly on the floor exposes them to these contaminants. Elevating your goods isn’t just a precaution; it’s a necessity for hygiene and structural integrity.
The Gold Standard: Wooden Pallets
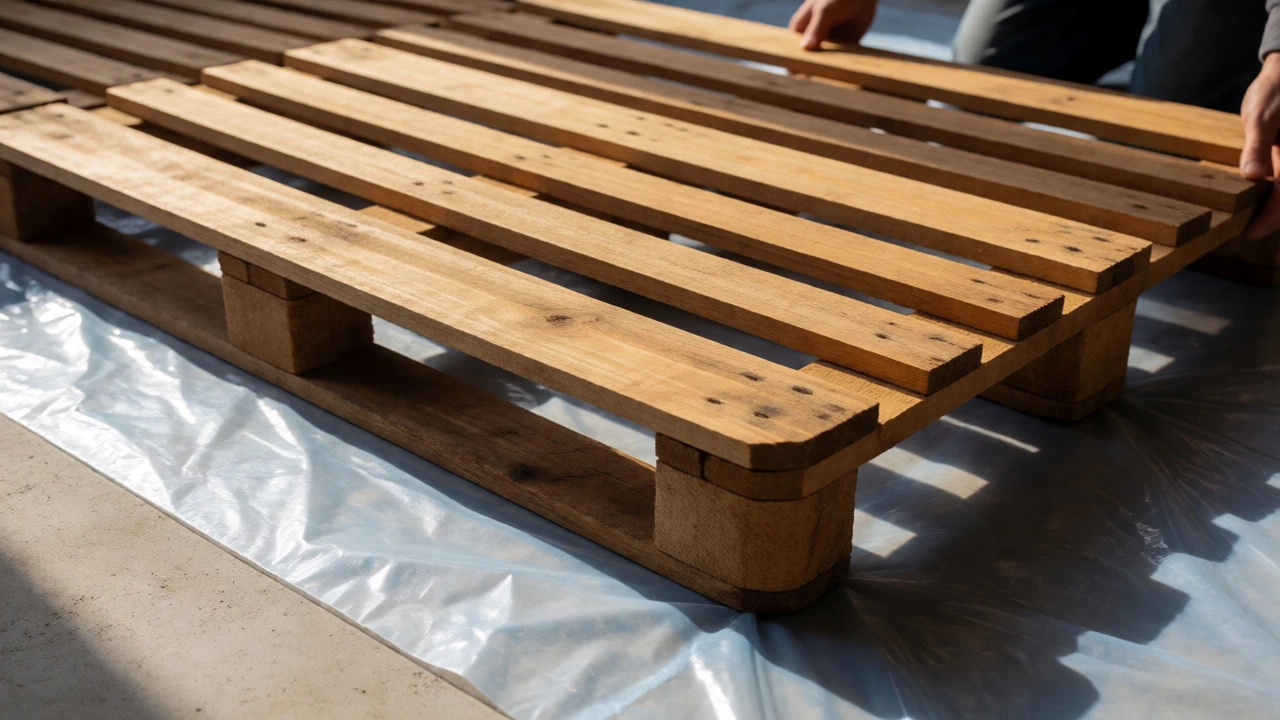
If you ask any seasoned mover or self-storage expert, they’ll point you toward one solution above all others: wooden pallets. These flat transport structures, typically made of hardwood or softwood slats, create an immediate air gap between your items and the concrete. This airflow is critical. It prevents condensation from forming under your boxes and allows any ambient moisture to evaporate rather than pool.
However, not all pallets are created equal. You need to check for three things before you drag them into your unit:
- Cleanliness: Ensure the pallets are free of oil stains, chemical spills, or heavy grime. A dirty pallet transfers dirt directly onto your clean boxes.
- Structural Integrity: Check for broken slats or protruding nails. A splintered piece of wood can tear through cardboard or plastic wrapping in seconds.
- Pest History: Look for signs of termites or carpenter ants. Bringing infested wood into a sealed unit can turn a minor inconvenience into a major disaster.
In New Zealand, sourcing used pallets is relatively easy. Many hardware stores, supermarkets, or local logistics companies give them away or sell them cheaply. Just make sure they are heat-treated (marked with 'HT') rather than chemically treated, especially if you’re storing food items or fabrics close by.
Plastic Alternatives for Moisture-Prone Areas
Wood is great, but it has weaknesses. It absorbs water itself and can rot if left in direct contact with a leaking roof or severe flooding. For high-risk scenarios, plastic pallets or interlocking plastic tiles offer a superior alternative. Unlike wood, plastic is impervious to water, resistant to pests, and easy to wipe down.
Interlocking garage-style floor tiles have become increasingly popular in modern self-storage. These snap-together mats provide a continuous barrier, eliminating the gaps found in traditional pallets. While more expensive upfront, they offer better protection against small pests like cockroaches or silverfish that might crawl up through the slats of a wooden pallet. If you’re storing sensitive electronics or important documents, this seamless surface is worth the investment.
DIY Solutions: Cardboard and Carpet Scraps
Not everyone wants to buy specialized equipment. If you’re on a tight budget, you can improvise. Thick layers of corrugated cardboard can work as a temporary moisture barrier. The trick is to use multiple layers-at least two or three-and replace them periodically if they show signs of softening. However, cardboard is biodegradable and attracts pests. It’s a short-term fix, not a long-term strategy.
Some people repurpose old carpet scraps. While this adds cushioning, it’s risky. Carpet fibers hold moisture and dust, creating a breeding ground for mold. If you must use carpet, ensure it’s completely dry and placed only under large furniture legs, not covering the entire floor area. Never let carpet touch bare concrete for extended periods without a vapor barrier underneath.
How to Layer Your Storage Unit Floor
Creating the perfect base isn’t just about picking one material; it’s about layering. Think of it like dressing for bad weather: you need a base layer, an insulating layer, and a protective outer shell. Here’s a step-by-step approach to building a resilient floor system:
- Start Clean: Sweep the concrete thoroughly. Remove any debris, rocks, or sticky residues.
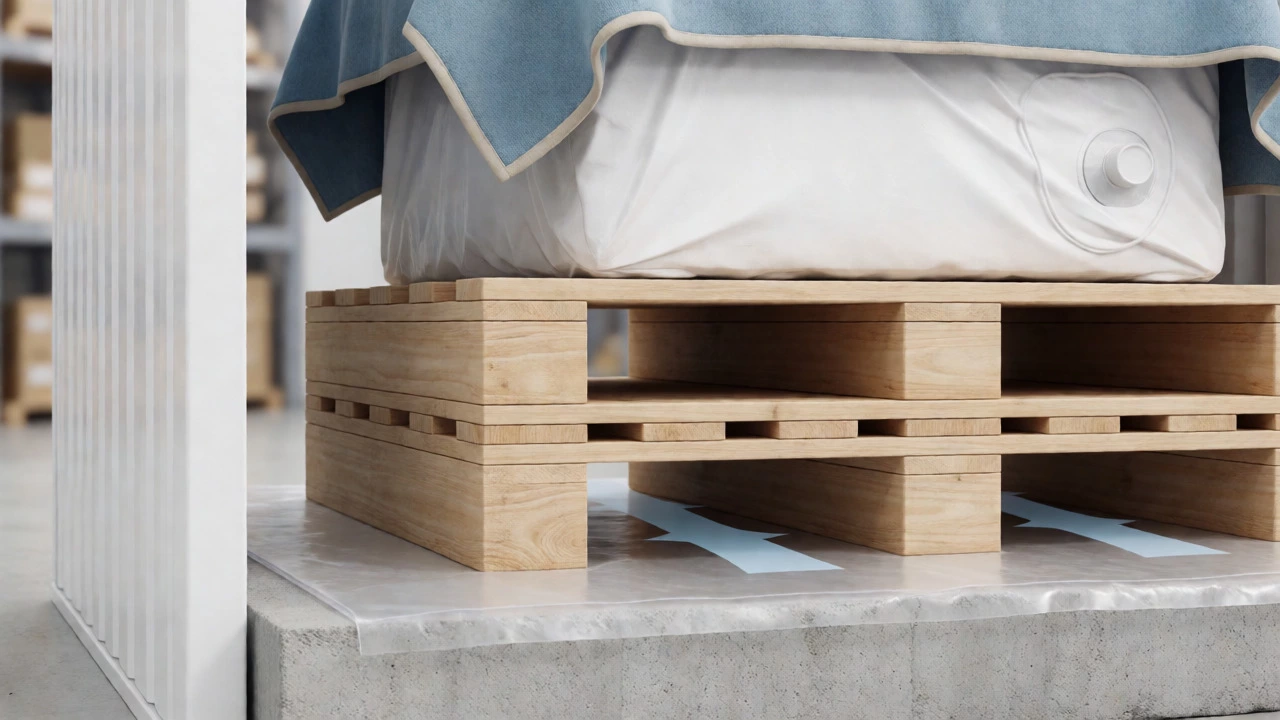
- Lay the Vapor Barrier: Roll out a sheet of polyethylene plastic (visqueen) across the floor area you plan to use. This blocks rising dampness from the concrete.
- Add the Elevation: Place your wooden pallets or plastic tiles on top of the plastic. Ensure they are stable and level.
- Protect the Items: Wrap your boxes or furniture in plastic wrap or moving blankets before placing them on the elevated platform. This adds a final shield against dust and accidental spills.
This multi-layer approach addresses every threat: moisture from below, physical damage from uneven surfaces, and contamination from the environment.
| Material | Moisture Resistance | Cost | Best For |
|---|---|---|---|
| Wooden Pallets | Moderate (can absorb water) | Low (often free) | General household goods, furniture |
| Plastic Tiles | High (impervious) | Medium-High | Electronics, documents, humid climates |
| Corrugated Cardboard | Low (absorbs quickly) | Very Low | Short-term storage, light items |
| Visqueen Plastic Sheet | High (as barrier) | Low | Underlay for other materials |
Special Considerations for Furniture and Appliances
Furniture requires different handling than boxed goods. Sofas and mattresses should never sit directly on the floor, even on pallets. The fabric at the bottom can still absorb ambient moisture. Use a dedicated mattress bag or heavy-duty plastic wrap to seal them completely. For appliances like washing machines or fridges, empty them fully and leave doors slightly ajar to prevent mildew. Place these heavy items on reinforced pallets or directly on sturdy wooden beams to distribute weight evenly and prevent sinking into softer sub-floors.
Remember, the goal is to keep everything off the "danger zone"-the first six inches above the concrete. That’s where the highest concentration of moisture and pests lives. By elevating your items, you’re essentially creating a microclimate within your storage unit that is significantly safer than the raw environment outside.
Do I really need to put anything on the floor of a storage unit?
Yes, absolutely. Concrete floors are porous and often damp. Placing items directly on them leads to moisture absorption, mold growth, and pest infestation. Even in climate-controlled units, dust and potential leaks make elevation a smart safety measure.
Can I use newspaper instead of pallets?
Newspaper is a poor choice. It absorbs moisture rapidly, becomes soggy, and encourages mold and insect activity. It offers no structural support and breaks down quickly. Stick to rigid materials like wood or plastic.
Are wooden pallets safe for storing food items?
Only if they are marked 'HT' (Heat Treated). Avoid pallets marked 'MB' (Methyl Bromide), which have been treated with toxic chemicals. Always inspect for spills or stains before using them near food products.
How thick should the plastic sheeting be?
Use at least 4-mil thickness for durability. Thinner sheets tear easily when dragged or stepped on. Reinforced polyethylene is ideal for long-term storage applications.
Will mice chew through plastic tiles?
Rodents can chew through thin plastic, but high-density interlocking tiles are much harder for them to penetrate than cardboard or soft foam. Sealing gaps around the edges of the unit further reduces risk.