How to Install a Stand on Your Smart TV - Step‑by‑Step Guide
Learn how to safely install a stand on your smart TV with step‑by‑step instructions, tool lists, common mistakes, and maintenance tips for a clean, stable setup.
When you buy a new TV, the first question is usually "How do I put it somewhere safe and stylish?" A VESA compatible stand is the answer for most people. It lets you attach your TV to a wall or a dedicated TV console without any guesswork. In this guide you’ll learn what to look for, how to mount it, and a few tricks to get the best picture and comfort.
VESA (Video Electronics Standards Association) is a set of hole‑patterns that TV manufacturers use. The pattern is measured in millimetres – common sizes are 100×100, 200×200, 400×400 and so on. To check compatibility, flip the back of your TV and look for four threaded holes arranged in a square. The numbers printed next to them (e.g., 200 × 200) tell you the VESA size.
When you shop for a stand, match that size. Most modern stands list the VESA patterns they support, so you’ll see something like "Supports 100‑600 mm VESA". If your TV’s pattern falls inside that range, you’re good to go. If it doesn’t, you might need an adapter plate – a cheap add‑on that converts the hole pattern to a compatible one.
Here are three quick questions to narrow down the options:
For most living rooms, a tilt mount works fine – you can sit on a couch and still get a clear view without straining your neck. If you have a bedroom where you watch from bed, a full‑motion arm is worth the extra cost.
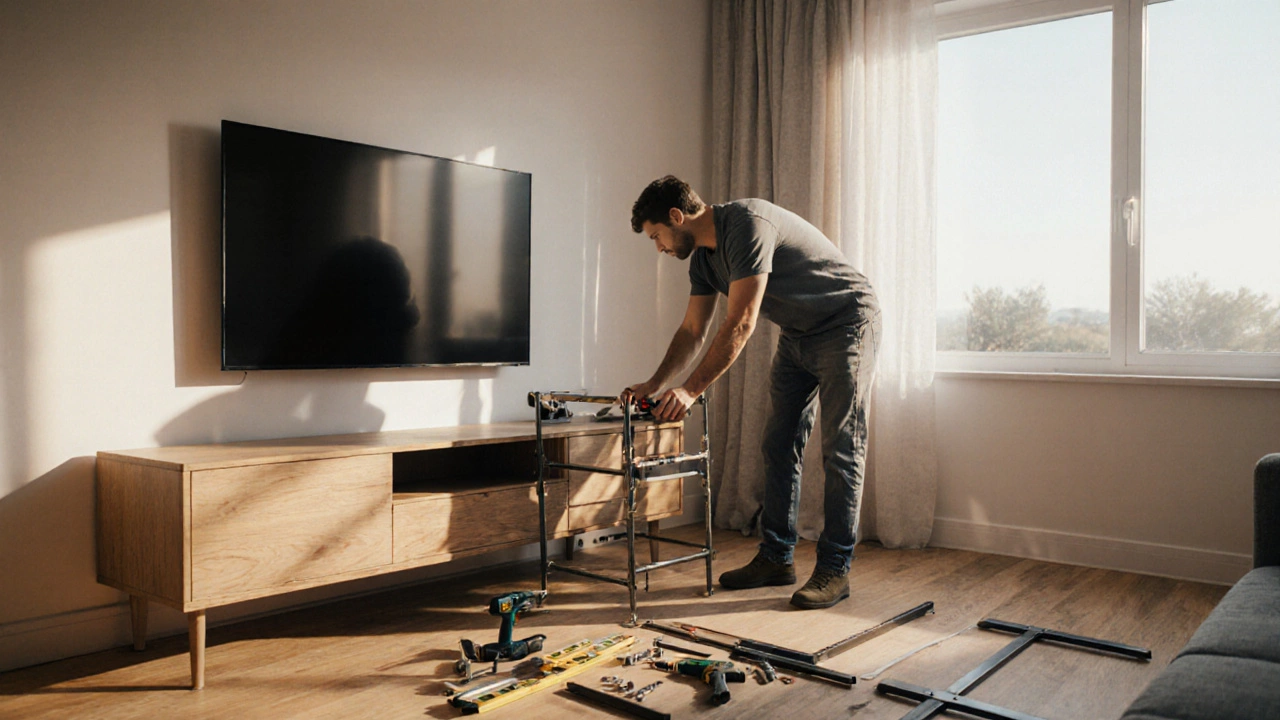
Mounting a VESA stand is easier than you think. Grab a drill, a screwdriver, a level, and a helper – safety first.
Finally, run your HDMI, power, and any audio cables through the management system. Plug everything in, turn on the TV, and enjoy a clean, safe setup.
Once the mount is up, you can still fine‑tune the experience. Adjust the tilt angle so the screen is about eye‑level when you’re seated – this reduces neck strain. If you have kids or pets, consider a lock‑away mechanism that keeps the TV from being pulled down accidentally.
Keep the area behind the TV dust‑free. A quick vacuum or a dry microfiber cloth every few months stops dust from building up on the heatsinks and vents.
Lastly, if you ever move houses, you can reuse the same VESA stand. Just reverse the steps, and you’re ready for the next room.
Choosing a VESA compatible stand doesn’t have to be a headache. Match the hole pattern, pick the right weight capacity, and follow the simple install steps. In a few minutes you’ll have a sleek, secure TV that looks great and works even better.
Learn how to safely install a stand on your smart TV with step‑by‑step instructions, tool lists, common mistakes, and maintenance tips for a clean, stable setup.