TV Stand Installation: Simple Steps for a Secure, Stylish Setup
Got a new TV stand and wondering how to get it looking and working right? You don’t need an expert carpenter – just a few tools, a clear plan, and a bit of patience. This guide walks you through everything from prepping the space to tightening the final screw, so your entertainment centre is safe, level, and ready for binge‑watching.
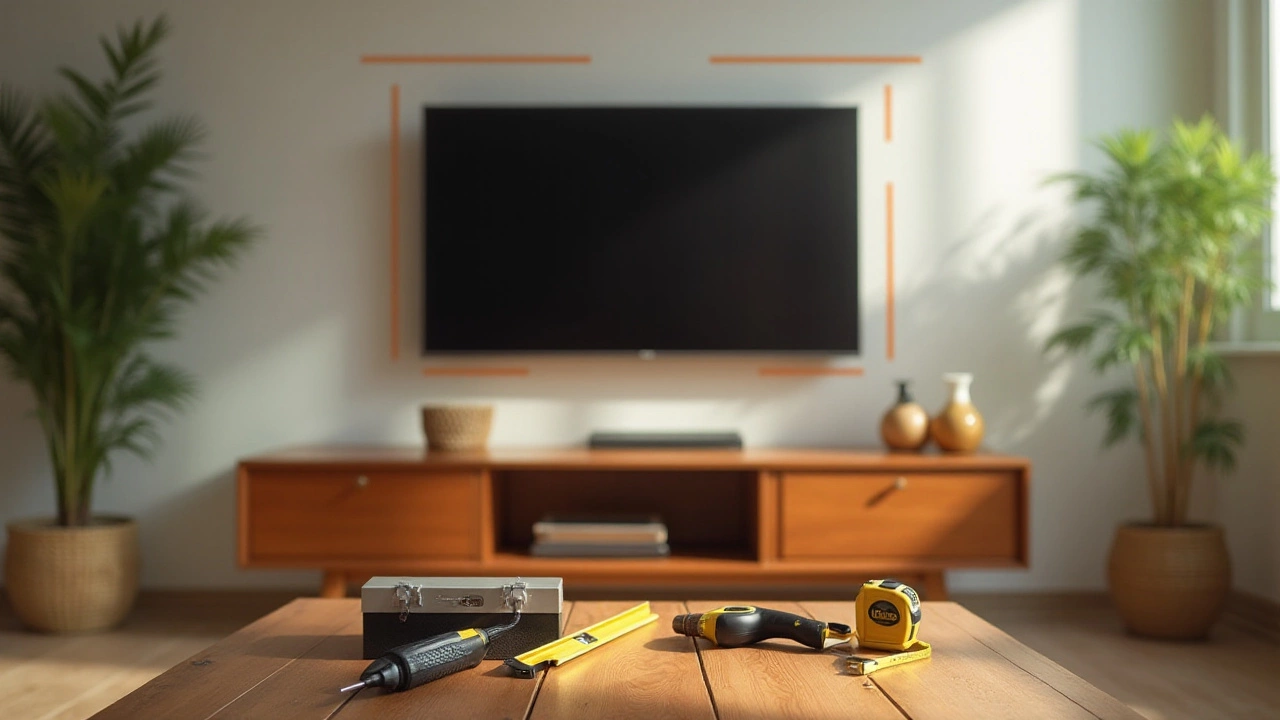
What You’ll Need Before You Start
First, gather the basics. A power drill (or screwdriver if you prefer old‑school), a tape measure, a bubble level, and a rubber mallet will cover most stands. Keep the assembly manual handy; even if it looks like a puzzle, the instructions often include crucial safety notes.
Check the package for all hardware – bolts, dowels, brackets, and any wall‑mount components. Missing pieces are a common headache, so verify everything is there before you begin. If the stand is meant to attach to the wall, you’ll also need a stud finder and appropriate wall anchors (metal or plastic, depending on the wall type).
Step‑by‑Step Installation Process
1. Prepare the floor area. Clear a wide space around where the stand will go. Lay a soft blanket on the floor to protect finished surfaces from scratches while you work.
2. Assemble the base. Most TV stands come in two or three main panels. Align the pre‑drilled holes, insert the dowels, and snugly tighten the bolts. Use the level to make sure the base is perfectly horizontal – a slanted stand can stress the TV and look off‑balance.
3. Attach shelving or cabinets. If your model includes drawers or shelves, slide them into place according to the diagram. Secure any back panels with the supplied screws; they add rigidity and keep the unit from wobbling.
4. Mount the stand to the wall (optional but recommended). Locate the studs with the stud finder, mark the drilling points, and drill pilot holes. Insert the wall anchors if you’re not hitting a stud directly. Then attach the mounting brackets to the back of the stand and screw them into the wall. This step prevents the stand from tipping forward, especially if you have kids or pets.
5. Position your TV. With the stand assembled, lift the TV onto the top surface. Most stands have a VESA‑compatible mounting plate – if yours does, align the holes, screw the plate in, and then lock the TV to the plate. If it’s just a surface placement, use a non‑slip mat under the TV to keep it steady.
6. Run cables neatly. Hide power and HDMI cords behind the stand’s cable management holes. Clip excess length with zip ties to avoid a tangled mess. A tidy setup not only looks better but also reduces tripping hazards.
7. Final check. Go over every bolt once more, give the stand a gentle shake, and make sure the level still reads flat. Adjust any screws that feel loose, and you’re good to go.
That’s it – a solid TV stand installed in under an hour. The real trick is staying organized and double‑checking each step before you tighten the next screw. With a stable base, your TV will stay safe, and you’ll have a sleek focal point for movie nights.
Need extra help? Many manufacturers offer video tutorials on their websites, and a quick search for your model name plus “assembly” usually brings up useful clips. Remember, a tidy, well‑installed stand not only looks great but also protects your investment for years to come.