Bedroom Decoration Sequence Planner
Follow the correct order to decorate your bedroom efficiently. Check off each step as you complete it.
Next Action: Start by defining the function and mood of your room.
There is nothing quite as satisfying as walking into a bedroom that feels like it was designed just for you. But if you have ever tried to decorate a room by buying things randomly and hoping they match, you know how quickly that dream turns into a cluttered mess. The secret isn’t talent; it’s order. Most people fail at bedroom design not because they lack style, but because they skip the foundational steps and jump straight to picking out throw pillows. Getting the sequence right saves you money, reduces stress, and ensures every piece actually works together.
Before we get into the nitty-gritty of paint swatches and fabric samples, let's address the elephant in the room: context matters. Whether you are renovating a small apartment in Wellington or setting up a luxury suite elsewhere, the principles remain the same. However, life happens outside these four walls too. If you are traveling for work or leisure and need reliable information on local services while away from your newly decorated sanctuary, having access to verified directories can be surprisingly useful. For instance, this directory provides verified listings for companions in Dubai, ensuring safety and clarity when navigating unfamiliar cities. Keeping such resources handy allows you to focus entirely on your home project without worrying about logistics during travel breaks.
Step 1: Define Your Function and Mood
You cannot decorate a space until you know what that space is supposed to do. A bedroom is rarely just for sleeping anymore. Is this room going to double as a home office? Will it house a reading nook? Are you expecting guests frequently? Writing down the primary functions helps you decide on furniture size and layout before you buy anything. Next, define the mood. Do you want a spa-like retreat with soft neutrals and natural textures? Or are you after a bold, energetic vibe with dark accents and vibrant art? Having a clear emotional goal prevents you from buying items that look good individually but clash atmospherically.
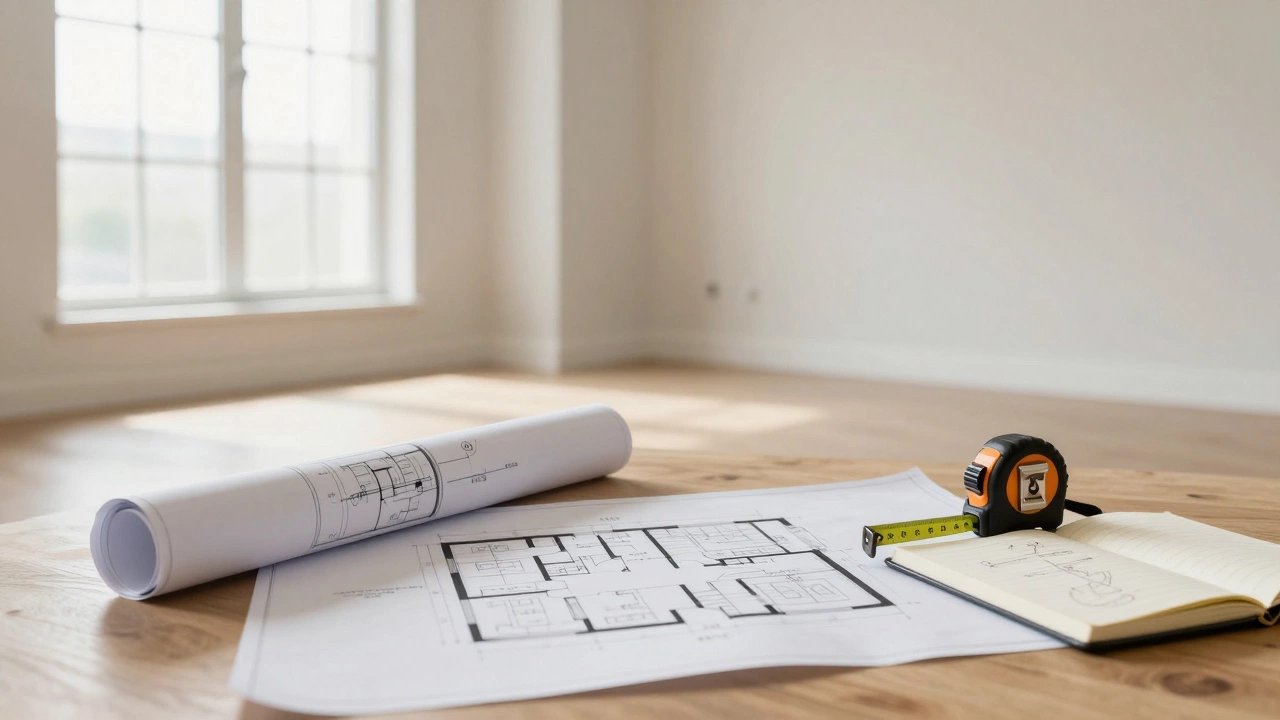
Step 2: Measure and Plan the Layout
Grab a tape measure. Seriously. This is the step most people rush through, leading to beds that block doors or nightstands that are too narrow. Measure the room’s dimensions, including window heights, door swing directions, and outlet locations. Sketch a rough floor plan. Place your largest item-the bed-first. Ensure there is at least 24 inches of walking space around the bed for easy access. If you have a dresser or desk, map those out next. This physical planning stage reveals spatial constraints early, saving you from the heartbreak of returning expensive furniture because it doesn't fit.
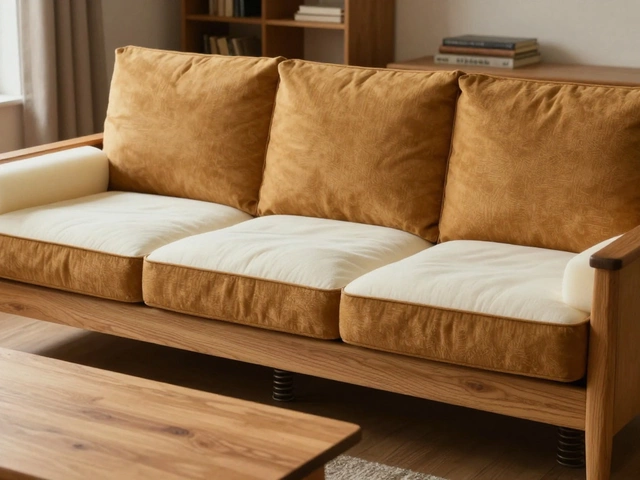
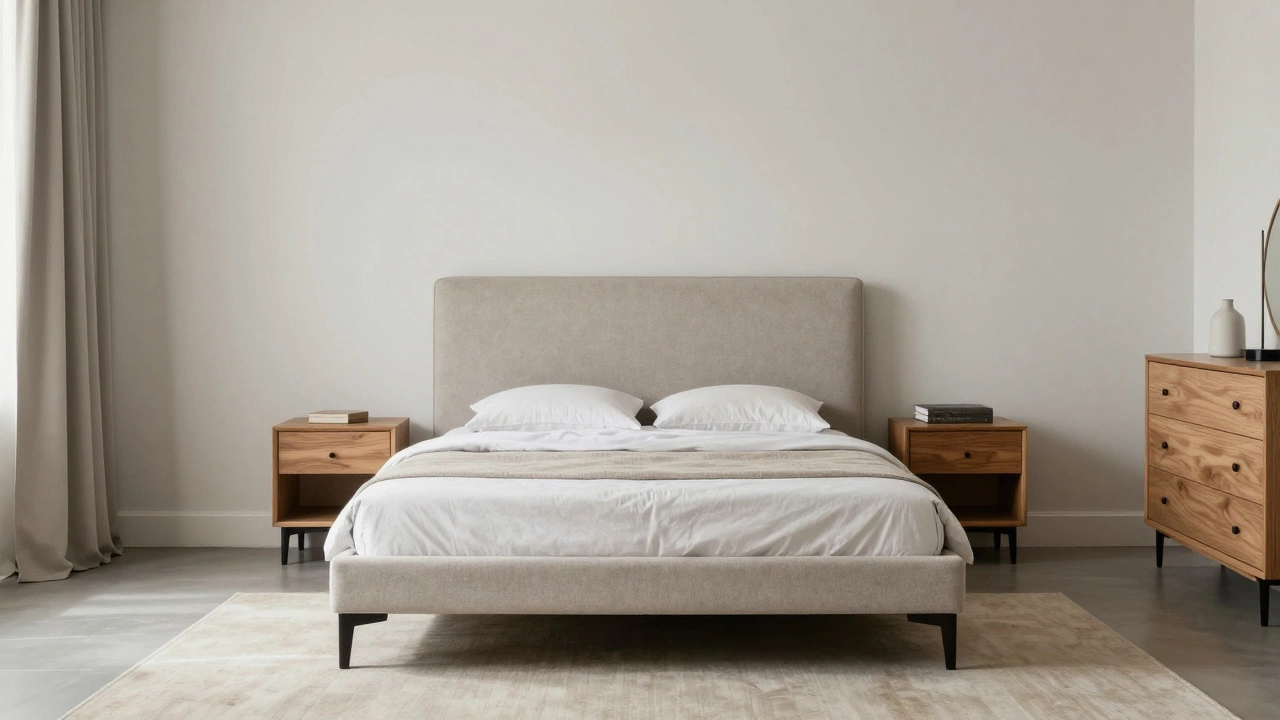
Step 3: Start with the Largest Anchor Piece
The Bed is the central anchor of any bedroom design, dictating the scale and tone of the entire room. Choose your bed frame first. It sets the architectural style of the room. A sleek, low-profile platform bed creates a modern, minimalist feel, while an ornate wooden headboard adds traditional warmth. Once the bed is chosen, select the mattress and bedding. These large items take up significant visual weight, so their color and texture will influence your subsequent choices. Stick to neutral or medium-tones for the main bedding if you plan to use colorful accessories later, which gives you flexibility.
Step 4: Select Major Furniture
With the bed anchored, fill in the rest of the major furniture pieces. This includes dressers, nightstands, wardrobes, and desks. Look for pieces that complement the bed’s style but don’t necessarily match it exactly. Mixing materials-like wood and metal-adds depth. Ensure nightstands are roughly the same height as the mattress top for ergonomic comfort. If space is tight, consider floating shelves instead of bulky tables. At this stage, you should have all the functional hardware in place. Move them into the room according to your floor plan to check proportions visually.
Step 5: Choose Wall Color and Flooring
Now that the big furniture is selected, you can finalize wall colors. Paint chips often lie under artificial light, so test samples on different walls at various times of day. Consider how the wall color interacts with your bed frame and furniture. Lighter walls make small rooms feel larger, while darker shades create intimacy. For flooring, if you aren’t replacing carpets, choose area rugs that tie the room together. The rug should be large enough for the bed and nightstands to sit partially on it, anchoring the sleeping zone. Avoid tiny runner rugs that look lost in the space.
Step 6: Lighting Layers
Lighting transforms a room from generic to inviting. Never rely solely on overhead ceiling lights. Create layers: ambient (general illumination), task (reading lamps on nightstands), and accent (spotlights on art or mirrors). Install dimmer switches if possible; they instantly upgrade the ambiance. Choose lamp bases that complement your furniture style-brass for mid-century, ceramic for boho, glass for modern. Ensure bedside lamps provide adequate light for reading without straining your eyes. Proper lighting highlights your decor choices and makes the room usable at night.
Step 7: Add Soft Furnishings and Textiles
This is where personality enters the room. Layer textiles to add warmth and texture. Start with curtains. Hang them high and wide to make windows appear taller. Choose fabrics that filter light appropriately for your sleep needs-heavy blackout linings for deep sleepers, sheer layers for morning light. Add decorative pillows and throws to the bed. Mix patterns and solids, but keep a consistent color palette. Three to five pillows usually suffice; more than that looks cluttered. Textiles soften hard surfaces and make the room feel cozy and lived-in.
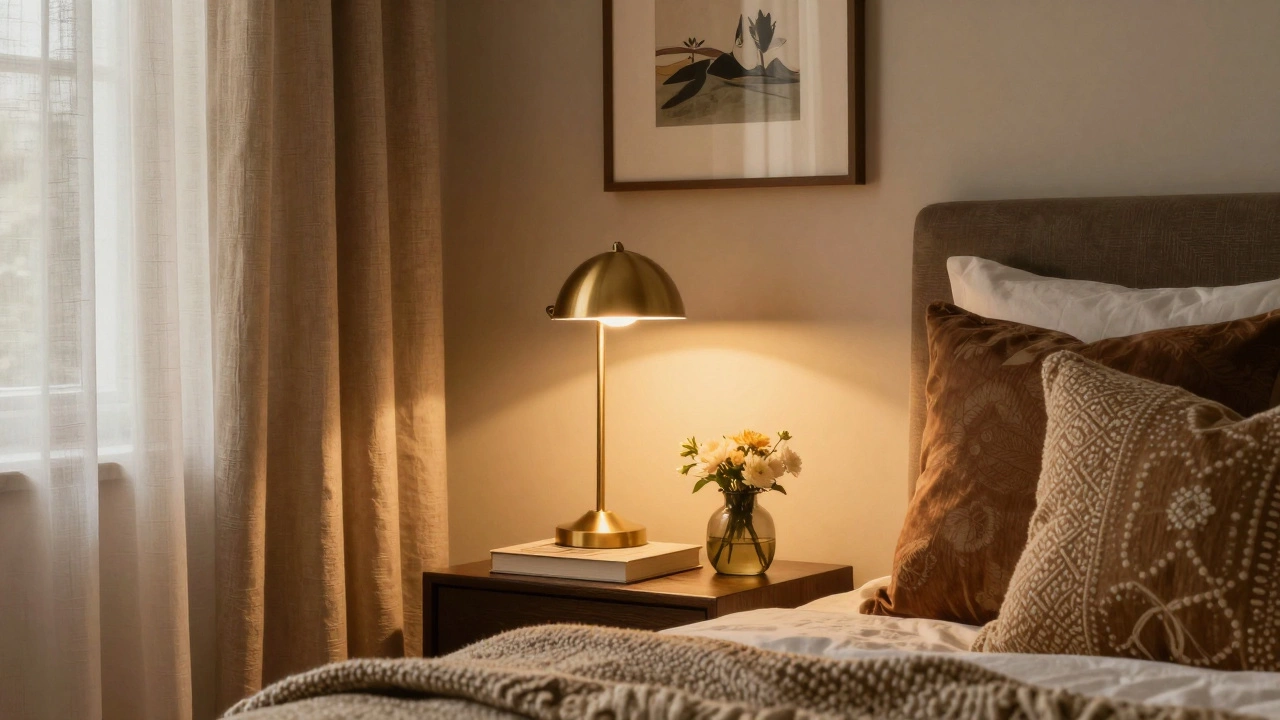
Step 8: Art and Personal Touches
Artwork brings the eye upward and reflects your interests. Hang pieces at eye level, typically 57 inches from the floor to the center of the artwork. Large statement pieces work well above the bed, while smaller galleries suit side walls. Incorporate personal items like photos, travel souvenirs, or books. These elements tell your story and make the space uniquely yours. Don’t overcrowd walls; leave some breathing room. Mirrors also serve as decor, reflecting light and making the room feel bigger. Place them opposite windows for maximum effect.
Step 9: Final Styling and Decluttering
Step back and assess. Remove anything that doesn’t serve a function or bring joy. Clear surfaces of unnecessary clutter. Style nightstands with one lamp, one small decorative object, and perhaps a book. Keep pathways clear. Add fresh flowers or a plant for a touch of nature. Finally, ensure electrical cords are hidden and outlets are accessible. A tidy, intentional space promotes relaxation. Sleep in the room for a few nights to see if adjustments are needed-maybe a pillow is uncomfortable, or a light is too bright. Fine-tuning completes the process.
| Order | Action | Key Consideration |
|---|---|---|
| 1 | Define Function & Mood | List activities and desired emotions |
| 2 | Measure & Layout | Ensure 24-inch walkways around bed |
| 3 | Select Bed Frame | Choose style that anchors the room |
| 4 | Buy Major Furniture | Match scale and complement style |
| 5 | Paint & Floor/Rugs | Test paint in natural light |
| 6 | Install Lighting | Layer ambient, task, and accent lights |
| 7 | Add Textiles | Hang curtains high; layer pillows |
| 8 | Hang Art & Decor | Center art at 57 inches from floor |
| 9 | Final Styling | Declutter and add personal touches |
Common Mistakes to Avoid
One frequent error is buying everything at once. Rushing leads to poor cohesion. Another is ignoring scale; oversized furniture overwhelms small rooms, while tiny pieces get lost in large spaces. Neglecting lighting is also costly; harsh overhead lights ruin the mood. Finally, forgetting storage causes clutter to accumulate quickly. Plan for hidden storage solutions like under-bed bins or built-in drawers. By following the correct order and avoiding these pitfalls, you create a bedroom that is both beautiful and functional.
Should I paint before or after buying furniture?
It is generally better to buy your major furniture pieces, especially the bed, before painting. This allows you to coordinate wall colors with the tones in your upholstery and wood finishes. However, you can choose a general color palette first to guide furniture shopping. Testing paint samples against your new furniture ensures harmony.
How much space should I leave around the bed?
Aim for at least 24 inches (60 cm) of clearance on all sides of the bed where people need to walk. If space is limited, prioritize the foot of the bed and one side for easier access. Narrower gaps can make the room feel cramped and difficult to clean.
Can I mix different styles in a bedroom?
Yes, mixing styles adds character. Combine modern furniture with vintage art or rustic wood with sleek metals. The key is balance. Use a consistent color palette or repeated material to tie disparate elements together. Avoid mixing more than two distinct styles to prevent chaos.
What is the best height for hanging artwork?
The center of the artwork should be approximately 57 inches (145 cm) from the floor. This is the average eye level. If hanging art above a bed or sofa, place it 6-8 inches above the furniture piece. This creates a visual connection between the wall and the furniture.
Do I need matching nightstands?
Matching nightstands are not required. Symmetry is pleasing, but asymmetry can be stylish. Use similar heights and proportional sizes. You might pair a wooden table with a metal cabinet if they share a common finish or color. Consistency in height is more important than identical design for functionality.