Cheap Floor Makeover: Budget-Friendly Ways to Update Your Flooring
Learn budget-friendly ways to refresh your floors with cheap DIY options, step‑by‑step guides, cost comparisons, and tips to avoid common mistakes.
When planning low-cost flooring tips, simple strategies for choosing and installing affordable floor coverings without sacrificing style. Also known as budget floor ideas, it helps homeowners stretch their design budget while keeping rooms functional. Budget-Friendly Flooring Options, materials like laminate, vinyl plank, and engineered wood that cost less than solid hardwood are the backbone of any cheap floor plan. DIY Floor Installation, step‑by‑step methods that let you lay the surface yourself, saving on labor pairs perfectly with these materials, because low-cost flooring tips require smart material selection and a willingness to roll up your sleeves. Finally, Floor Maintenance Practices, easy cleaning routines and protective measures that keep cheap floors looking fresh for years complete the picture. In short, low‑cost flooring tips encompass budget‑friendly options, need DIY installation skills, and benefit from regular upkeep – a trio that turns a tight budget into a stylish floor.
Start by asking: what room will this floor serve? High‑traffic zones like kitchens and hallways demand durability, so luxury vinyl plank (LVP) and high‑quality laminate become top picks. LVP mimics hardwood or stone, offers water resistance, and typically runs $2‑$4 per square foot, while laminate delivers a similar look for $1‑$3. Engineered wood sits in the middle, giving real wood veneer over a stable core; it costs $3‑$6 and ages well with proper care. If you crave the cool feel of tile but lack the budget, consider porcelain tiles in large formats – the larger the tile, the fewer grout lines and the lower the installation time, keeping labor cheap. Each of these options shares key attributes: reasonable purchase price, decent lifespan (10‑20 years for LVP, 15‑25 for quality laminate), and low‑maintenance surface. The value equation can be expressed as cost ÷ durability = affordability score; the higher the score, the smarter the choice. By matching material attributes to room demands, you avoid overspending on unnecessary features while still achieving a polished look.
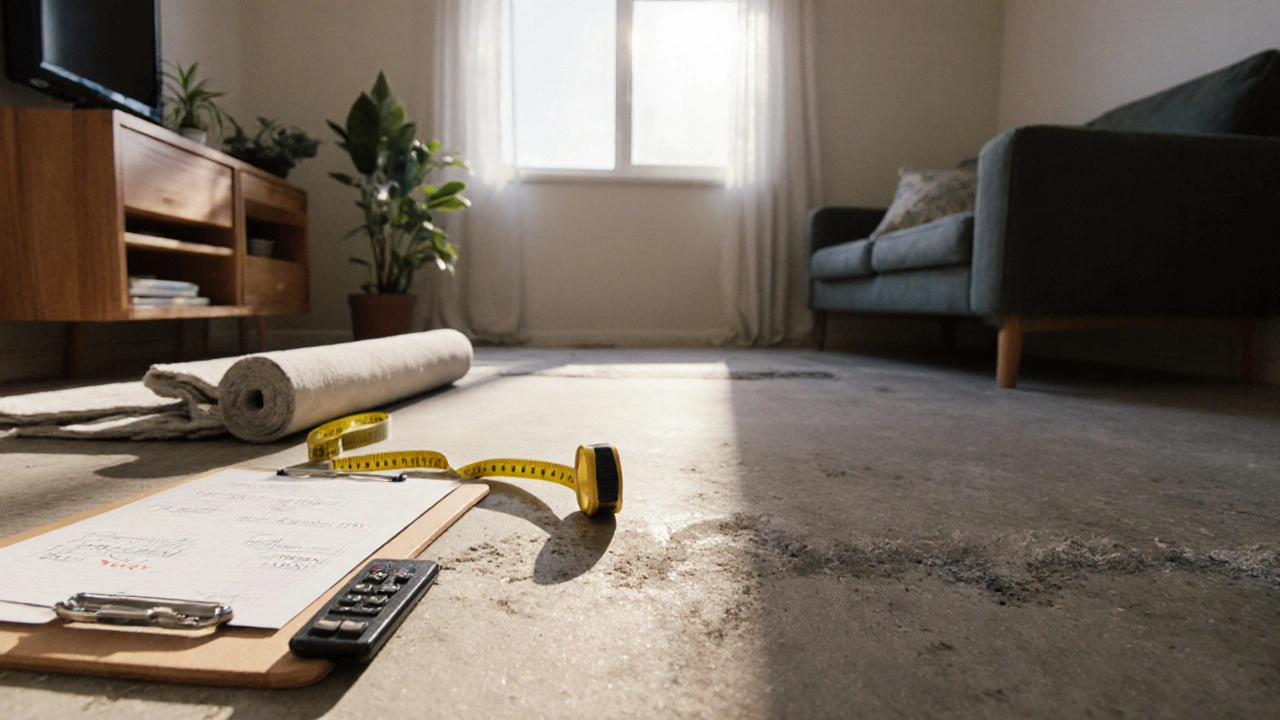
Once the material is set, the next step is planning the install. Measure the room carefully, subtract about 10% for waste, and order the underlayment that matches your product – a thin foam layer for LVP, a moisture barrier for laminate in basements. Gather essential tools: a utility knife, tapping block, spacers, and a rubber mallet. Layout the planks or tiles starting from the longest wall, staggering seams for visual interest and stability. If you’re tackling a DIY install, use the “dry fit” method first: lay pieces without adhesive to spot gaps and adjust cuts. For adhesive‑bound floors, apply a thin, even coat and press each board firmly, using spacers to maintain expansion gaps at walls. Proper sub‑floor preparation prevents future squeaks and uneven wear, which translates into lower long‑term maintenance costs. After installation, seal joints where needed and follow the manufacturer’s cleaning guide – usually a damp mop for LVP and a sweep‑and‑vacuum routine for laminate. These simple practices keep the floor looking new and extend its life, reinforcing the core idea that low‑cost flooring tips aren’t just about cheap buys, but also about smart, low‑effort upkeep. Below you’ll find a curated set of articles that dive deeper into specific material reviews, cost comparisons, and step‑by‑step DIY guides, giving you actionable insights to pick, install, and maintain the perfect budget‑friendly floor.
Learn budget-friendly ways to refresh your floors with cheap DIY options, step‑by‑step guides, cost comparisons, and tips to avoid common mistakes.