Flooring Cost Calculator
Estimate your flooring project cost in NZ dollars with our simple calculator. Based on Wellington market prices from the article, this tool helps you budget for a budget-friendly floor makeover.
Want a fresh look under your feet without blowing your budget? A cheap floor makeover can be as simple as swapping a few tiles, painting concrete, or laying down snap‑together planks. Below you’ll find practical options, step‑by‑step guides, and money‑saving tricks that work in Wellington homes and beyond.
What Is a Floor Makeover?
When we talk about a Floor makeover is a process of refreshing or completely changing the surface you walk on, using affordable materials and DIY techniques. It differs from a full remodel because you aim to keep labor costs low and often reuse existing sub‑floor structures.
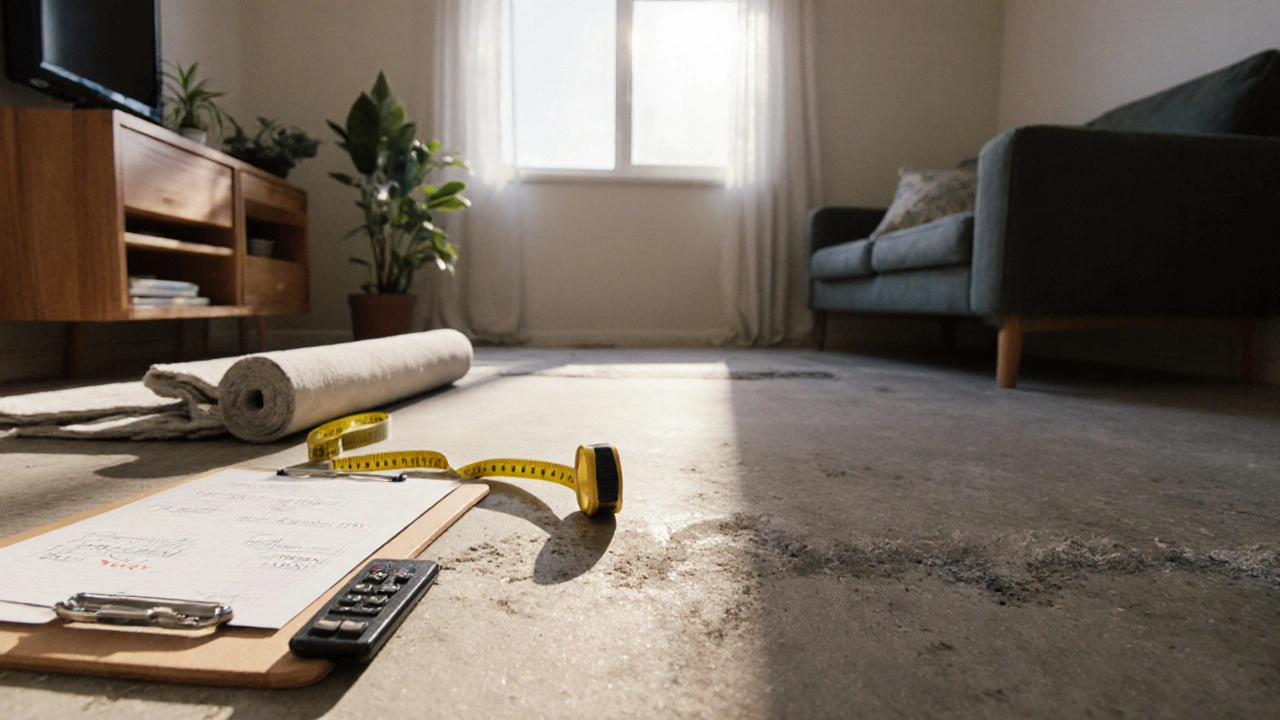
Assess Your Space and Set a Budget
- Measure each room’s square footage. Multiply length by width and add 10% for waste.
- Identify high‑traffic zones. Durability matters more in entryways than in closets.
- Set a realistic budget. In Wellington, a modest budget of NZ$25-$35 per sqm can cover many DIY options.
- Check sub‑floor condition. Look for squeaks, moisture, or uneven spots that need fixing before installing new material.
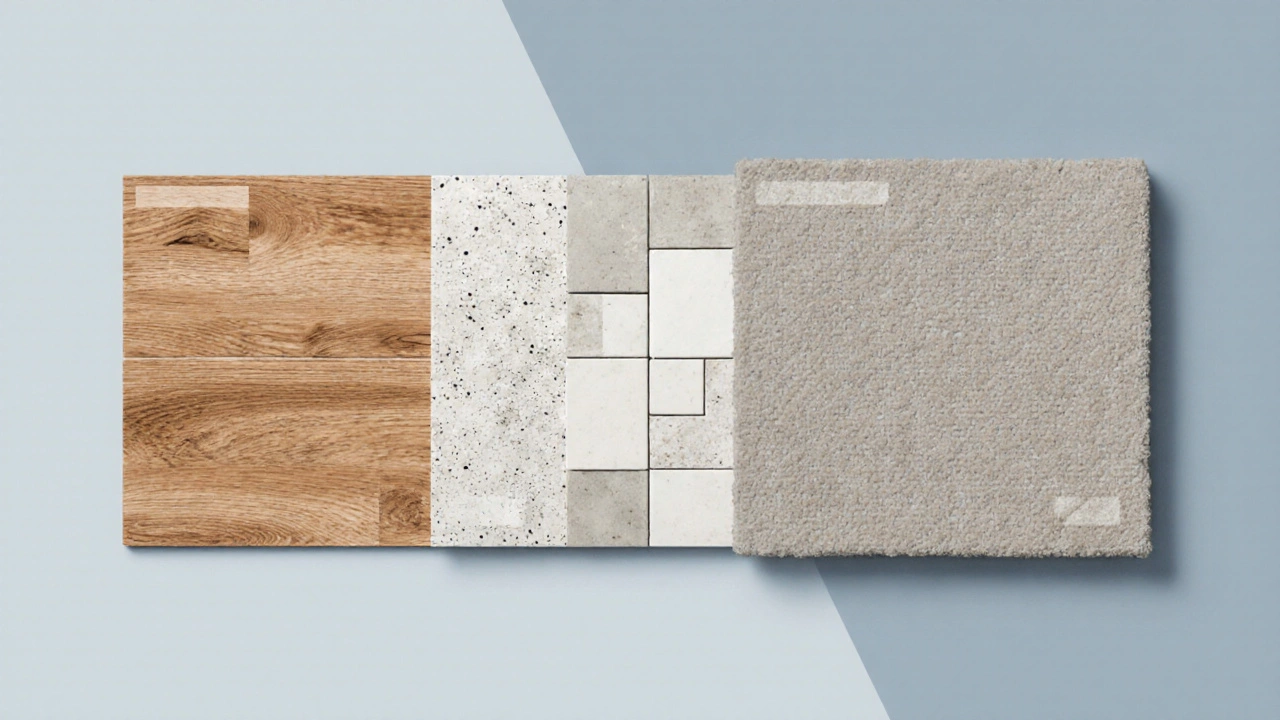
Top Low‑Cost Flooring Options
Each option below includes cost, durability, and DIY difficulty. The first mention of every material gets a Thing microdata tag.
Vinyl Plank Flooring
Vinyl plank flooring is a water‑resistant synthetic material that mimics hardwood. It uses a click‑lock system, meaning you don’t need glue or nails. Prices in NZ range from $30 to $45 per sqm, and installation can be finished in a weekend.
Laminate Flooring
Laminate flooring consists of a high‑density fiberboard core topped with a photographic layer that looks like wood or stone. It’s slightly cheaper than vinyl, typically $20-$35 per sqm, but it’s less moisture‑resistant, so avoid bathrooms.
Peel‑and‑Stick Tiles
Peel-and-stick tiles are self‑adhesive squares or rectangles that you can apply directly to clean, flat surfaces. They’re ideal for quick updates in kitchens or rental apartments, costing $15-$25 per sqm.
Painted Concrete
Painted concrete uses concrete‑grade epoxy or floor paint to create a sleek, modern look. After proper priming, you can finish a room for $10-$20 per sqm, but expect a higher skill requirement.
Self‑Adhesive Carpet Tiles
Self‑adhesive carpet tiles let you lay soft flooring without glue. They’re great for bedrooms or home offices. Expect $25-$40 per sqm, plus a small amount of seam tape.
Side‑by‑Side Comparison
| Material | Cost (NZ$/sqm) | Durability | Water Resistance | DIY Difficulty |
|---|---|---|---|---|
| Vinyl plank flooring | $30‑$45 | High | Excellent | Easy |
| Laminate flooring | $20‑$35 | Medium | Limited | Easy |
| Peel‑and‑stick tiles | $15‑$25 | Medium | Moderate | Very Easy |
| Painted concrete | $10‑$20 | High | Excellent (with epoxy) | Hard |
| Self‑adhesive carpet tiles | $25‑$40 | Medium | Low | Easy |
DIY Installation Guides
Below are concise steps for each material. Choose the one that matches your skill level and room usage.
Installing Vinyl Plank Flooring
- Clean the sub‑floor thoroughly; any debris will affect the click‑lock.
- Lay a moisture barrier if the floor is concrete.
- Start in a corner, angle the first plank, and click it into place.
- Stagger joints by at least 12 inches for a natural look.
- Trim the last row with a utility knife, then install transition strips.
Fitting Laminate Flooring
- Acclimate the planks for 48 hours in the room.
- Lay a 3‑mm underlayment roll; it acts as a vapor barrier and sound dampener.
- Use the same click‑lock method as vinyl, but tap joints with a rubber mallet.
- Apply edge molding to hide expansion gaps.
Applying Peel‑and‑Stick Tiles
- Wash the surface with mild detergent and let it dry completely.
- Plan your layout; start from the center to avoid uneven cuts.
- Peel the backing and press firmly for 30 seconds per tile.
- Use a roller to ensure full adhesion, especially in high‑traffic spots.
Painting Concrete Floors
- Etch the concrete with a mild acid solution; rinse and dry.
- Apply a concrete primer to improve paint adhesion.
- Use a roller for the first coat of epoxy or floor paint.
- After drying, add a clear sealant for durability.
- Consider a decorative stencil for a patterned finish.
Laying Self‑Adhesive Carpet Tiles
- Vacuum the floor to remove dust.
- Lay the tiles in a checkerboard pattern for visual interest.
- Press each tile down, then seal seams with carpet‑tile tape.
- Trim excess tiles with a sharp utility knife.
Budget‑Stretching Tips
- Reuse existing sub‑floor: Skip removal unless it’s damaged.
- Buy in bulk or watch clearance sales at local hardware stores like Mitre 10.
- Cut larger planks into smaller pieces for closets or bathrooms to reduce waste.
- Use a Floor patch kit to repair small dips instead of re‑doing an entire area.
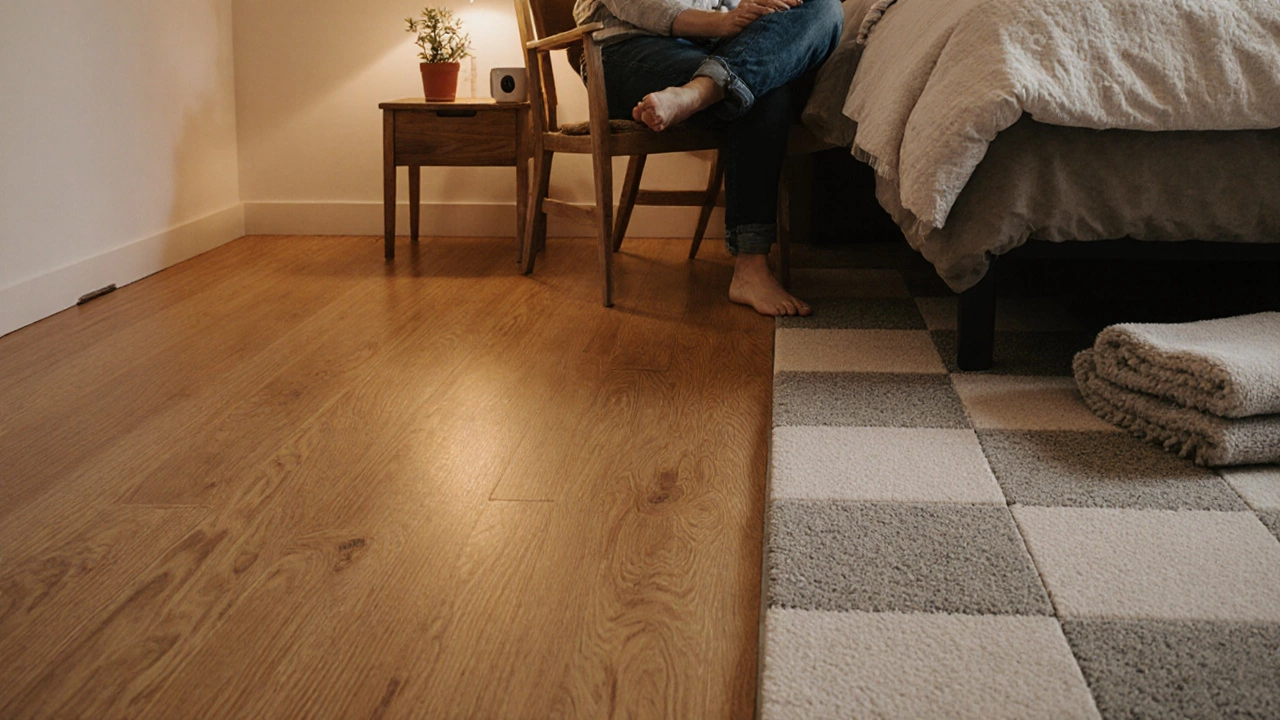
- Combine two methods-paint half the room, tile the other half-for a designer look on a shoestring.
Common Pitfalls and How to Avoid Them
Even cheap upgrades can go wrong if you skip a few basics.
- Skipping moisture tests: Wet sub‑floors cause bubbling under vinyl or laminate.
- Not allowing new materials to acclimate leads to expansion gaps later.
- Using the wrong adhesive on concrete causes peeling; always follow manufacturer’s recommendations.
- Ignoring expansion gaps near walls can warp planks during temperature changes.
Final Thoughts
Updating a floor doesn’t have to mean a massive outlay. With careful planning, the right low‑cost material, and a bit of DIY spirit, you can give any room a fresh, modern feel for under $40 per square metre. Pick the option that suits your lifestyle, follow the step‑by‑step guide, and enjoy a new look without breaking the bank.
Frequently Asked Questions
Can I install vinyl plank flooring over existing carpet?
It’s not recommended because carpet can compress and cause uneven clicks. Instead, remove the carpet or lay a sturdy underlayment that can support the planks.
How long does painted concrete last?
With a proper primer and a two‑coat epoxy finish, a painted concrete floor can last 10‑15 years in a residential setting, especially when sealed with a clear topcoat.
Are peel‑and‑stick tiles suitable for bathrooms?
They work in low‑moisture areas like powder rooms, but for wet showers you’ll need a water‑tight product rated for high humidity.
Do I need a vapor barrier under laminate?
Yes, especially over concrete or radiant heating. A thin underlayment serves as both vapor barrier and sound cushion.
Can I mix two cheap flooring types in one room?
Mixing is a great design trick-use vinyl planks in the high‑traffic zone and carpet tiles for a cozy seating area. Just keep expansion gaps at transitions.