DIY Art Ideas & Tips for Personalising Every Room
If you’ve ever stared at blank walls and thought, “I could do better than this,” you’re in the right place. DIY art lets you add personality without splurging on pricey pieces. The best part? You don’t need a studio or a degree – just a little imagination and a few everyday supplies.
Getting Started with DIY Wall Art
First, pick a spot that could use a lift. A hallway, a bedroom corner, or even the space above a couch works well. Measure the wall so you know how big your piece can be – this stops you from buying too much canvas or paint.
Next, choose a simple technique. Stencil art is a favorite because you only need a stencil, some painter’s tape, and a few colors of acrylic paint. Tape the stencil to the wall, dab on paint with a sponge, and lift – boom, a clean design appears. If you love texture, try fabric collage. Cut up old scarves or shirts, arrange them on a canvas, and glue them down. The result is a soft, layered look that adds depth without heavy frames.
Don’t forget the basics: clean the wall, protect the floor with drop cloths, and have a glass of water nearby. These small steps keep the process smooth and save you from messy clean‑ups later.
Creative Projects to Try Today
Here are three quick projects you can start this weekend:
1. Geometric Tape Design – Measure out a simple grid with painter’s tape. Paint inside each square a different pastel shade, then peel the tape away for a modern, graphic look. It’s perfect for a living‑room accent wall.
2. Photo Transfer Canvas – Print a favorite photo on regular paper, coat it with a thin layer of gel medium, press it onto a canvas, and let it dry. Once dry, wipe away the paper and you have a custom art piece that feels like a professional print.
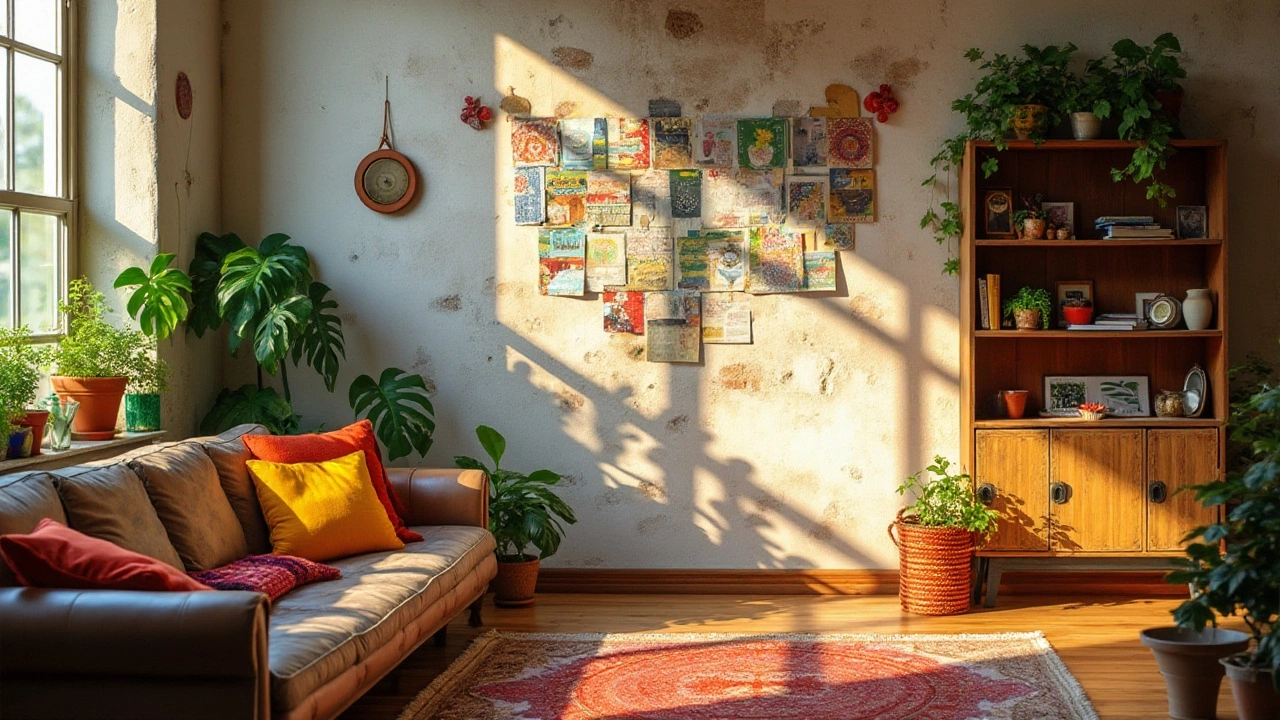
3. DIY String Art – Hammer small nails into a wooden board in the outline of a shape (like a heart or a city skyline). Wrap colorful string around the nails, following the pattern. It’s a fun project for kids and looks great hanging in a study.
All three ideas need only a few dollars and a couple of hours, yet they instantly upgrade the look of any room.
When you finish, step back and enjoy the change. You’ll notice how a personal touch makes the space feel more inviting. And if you’re ever stuck, check out related posts like “Wall Decor Rules: Best Practices for Stunning Home Art Displays” or “How to Jazz Up a Boring Wall: Creative Wall Decor Ideas for a Stunning Home” for extra inspiration.
Remember, DIY art is about experimenting. Mistakes are part of the process, and they often lead to unexpected results that add character. Keep a stash of basic supplies – paint, tape, brushes, canvas – and you’ll always be ready for the next project. Happy creating!