Photo Resolution Calculator
Enter your photo resolution to see maximum print size recommendations.
The article explains: "A 5-megapixel photo blown up to 40 inches will look like a pixelated mess."
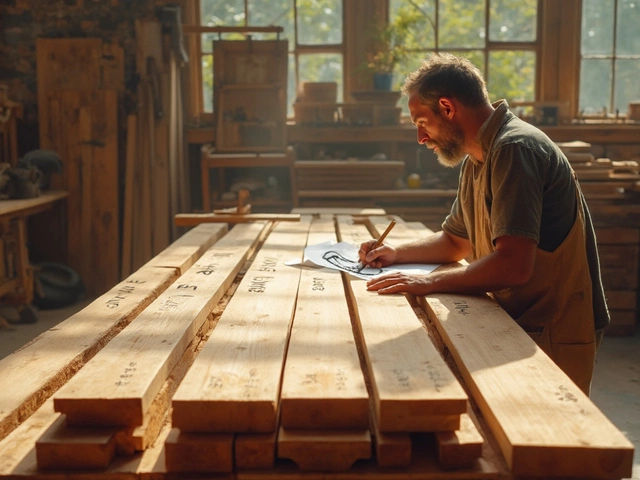
Ever looked at a photo of your kid’s first steps, your wedding day, or that sunset you caught on vacation and thought, That should be on my wall? But you don’t want it just printed on plain paper and framed. You want it to feel like real art-something that draws eyes, sparks conversation, and feels like it belongs in a gallery. Turning a photo into art isn’t about fancy filters or Instagram presets. It’s about transforming a moment into a statement.
Start with the right photo
Not every photo is built to become wall art. A blurry shot of your dog mid-bark won’t hold up when enlarged to 24x36 inches. You need a photo with enough detail to survive the transformation. Look for these qualities:- High resolution: Aim for at least 300 DPI at the size you want to print. A 12-megapixel photo can usually handle an 8x10 print cleanly. For larger sizes like 16x20 or bigger, shoot with a DSLR or modern smartphone in Pro mode.
- Strong composition: Photos with clear subjects, balanced lighting, and simple backgrounds translate best. A portrait with soft focus on the face and a blurred background? Perfect. A cluttered kitchen counter with five people waving? Probably not.
- Good lighting: Natural light works best. Avoid photos taken under fluorescent lights or with harsh shadows cutting across faces.
Pro tip: If you only have a low-res photo, don’t panic. Tools like Topaz Gigapixel AI can upscale images without making them look pixelated. They use machine learning to guess missing details based on millions of real photos-far better than old-school enlargement tools.
Choose your art style
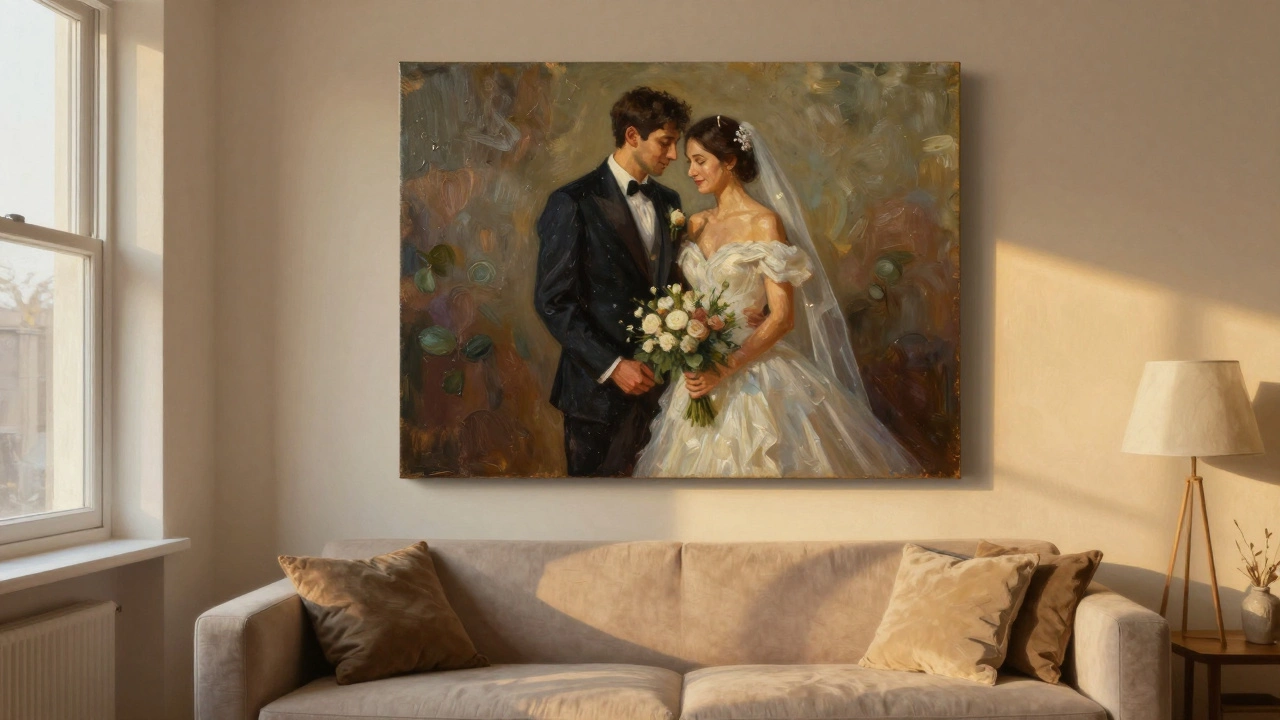
Turning a photo into art means deciding what kind of feeling you want. There’s no single right way. Here are the most popular styles people use today:- Oil painting effect: Gives your photo the texture and brushstrokes of a classic painting. Great for portraits, landscapes, or romantic scenes. Apps like DeepArt or Prisma can simulate this, but professional services like CanvasPop or Shutterfly Art use real artist techniques to layer paint digitally.
- Watercolor: Soft, dreamy, and elegant. Ideal for wedding photos, baby pictures, or nature shots. Watercolor styles often mute colors slightly and add subtle paper texture.
- Black and white fine art: Removes distraction and emphasizes emotion. A well-converted black-and-white photo can feel timeless. Try using Adobe Lightroom with a high-contrast preset and subtle grain for a film-like look.
- Abstract or stylized: Breaks the photo into shapes, lines, and color blocks. Think of it as a modern interpretation. Services like ArtToFrame offer AI-driven abstract conversions that turn faces into geometric patterns or skies into swirls.
- Poster art: Clean, bold, minimalist. Often used with quotes or single subjects. Works well in modern homes or offices.
Don’t feel pressured to pick one. Try three different styles on the same photo using free apps like Canva or Photopea. See which one makes you stop and stare.
Use the right tools
You don’t need to be a designer to turn a photo into art. But you do need the right tools.- Free options: Canva, Photopea (free Photoshop alternative), Fotor, and Pixlr all have built-in art filters. They’re great for experimenting.
- Professional-grade: Adobe Photoshop with custom brushes or filters like Topaz Impression gives you full control over brush size, stroke direction, and color blending.
- AI-powered services: If you want hands-off quality, use services like DeepArt, Artbreeder, or Stable Diffusion through platforms like Midjourney (via Discord). Upload your photo, pick a style, and let the AI do the heavy lifting.
Here’s a quick workflow: Open your photo in Photoshop → Duplicate the layer → Apply a filter like Oil Paint or Watercolor → Adjust opacity to blend with the original → Add texture overlay (paper, canvas) → Save as high-res PNG or TIFF.
Print it right
You’ve spent time editing. Now don’t ruin it with cheap paper.- Canvas: The classic choice for art. Gives a gallery feel. Look for cotton-polyester blend canvas with a matte finish. Avoid glossy-it reflects light and hides detail.
- Metal prints: Super modern. Colors pop, and the surface is durable. Great for landscapes or vibrant photos. The image is printed onto aluminum, so it’s lightweight and doesn’t need a frame.
- Acrylic: High-end look. The photo is printed on paper, then mounted behind a clear acrylic sheet. The result? A glossy, almost 3D effect. Perfect for bold, colorful images.
- Archival paper: For fine art prints. Use 100% cotton rag paper with pigment inks. This lasts decades without fading. Ideal for black-and-white or subtle tones.
Always choose a print service that offers color calibration. Many online printers let you upload a color profile or even send you a test print before the final one. Don’t skip this. A photo that looks perfect on your screen might come out too pink or too dull if not calibrated.
Frame it to match your space
The frame isn’t just a border-it’s part of the art.- Thin black frame: Minimalist. Works in modern homes.
- Wide wooden frame: Warm and traditional. Good for oil-painted styles.
- No frame: If you printed on canvas or metal, you can hang it straight. Many people love the floating look.
- Float mounting: The art sits slightly off the wall, creating depth. Used in galleries.
Measure your wall space. A single large piece (30x40 inches) often looks better than three small ones. If you’re grouping multiple pieces, leave at least 2-3 inches between them. Use painter’s tape to mock up the layout before drilling holes.
Common mistakes to avoid
People rush this process and end up with art that feels cheap or out of place. Here’s what to watch for:- Over-filtering: Too much saturation or blur makes it look like a bad meme. Keep it subtle.
- Ignoring resolution: A 5-megapixel photo blown up to 40 inches will look like a pixelated mess. Check the math before printing.
- Using home printers: Inkjet printers at home fade fast and lack color accuracy. Save them for drafts.
- Forgetting the lighting: Hang your art where it gets soft, indirect light. Direct sunlight fades colors. A north-facing wall is ideal.
- Choosing the wrong style: A watercolor of your dog won’t fit in a minimalist office. Match the mood of the art to the room.
Real examples that work
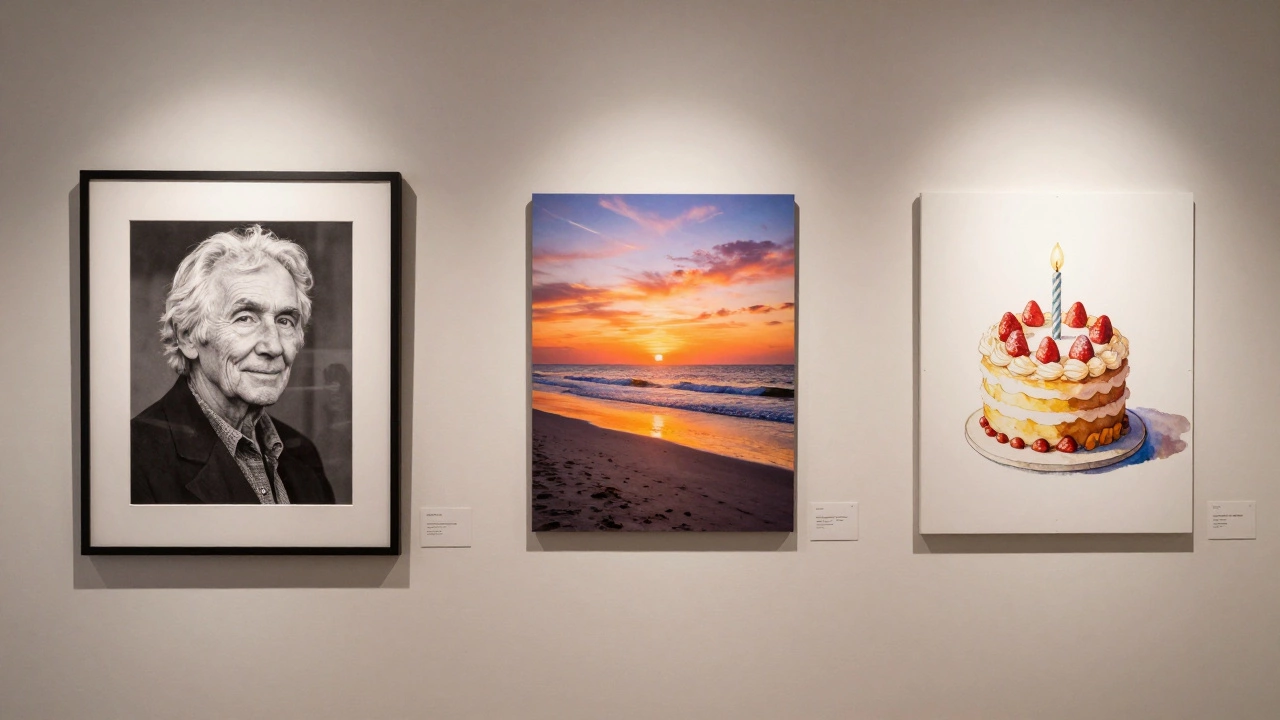
Here’s what actually looks good in real homes:- A black-and-white photo of grandparents on their wedding day, turned into a fine art print on cotton rag paper, framed in a thin black floater frame. Hung in the hallway.
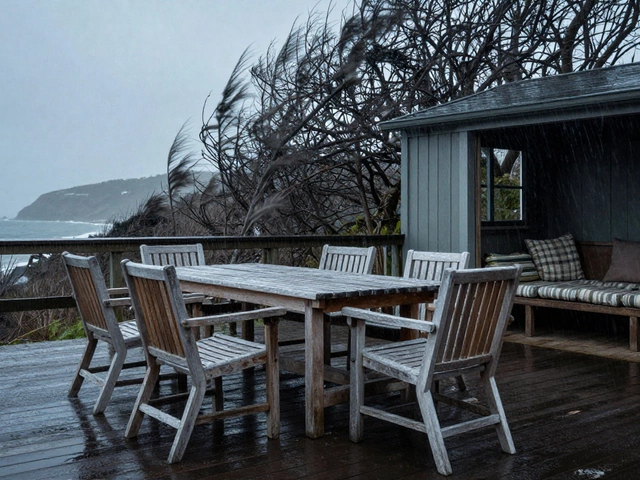
- A vacation photo of a beach at golden hour, converted to an oil painting style, printed on canvas, no frame. Above the sofa.
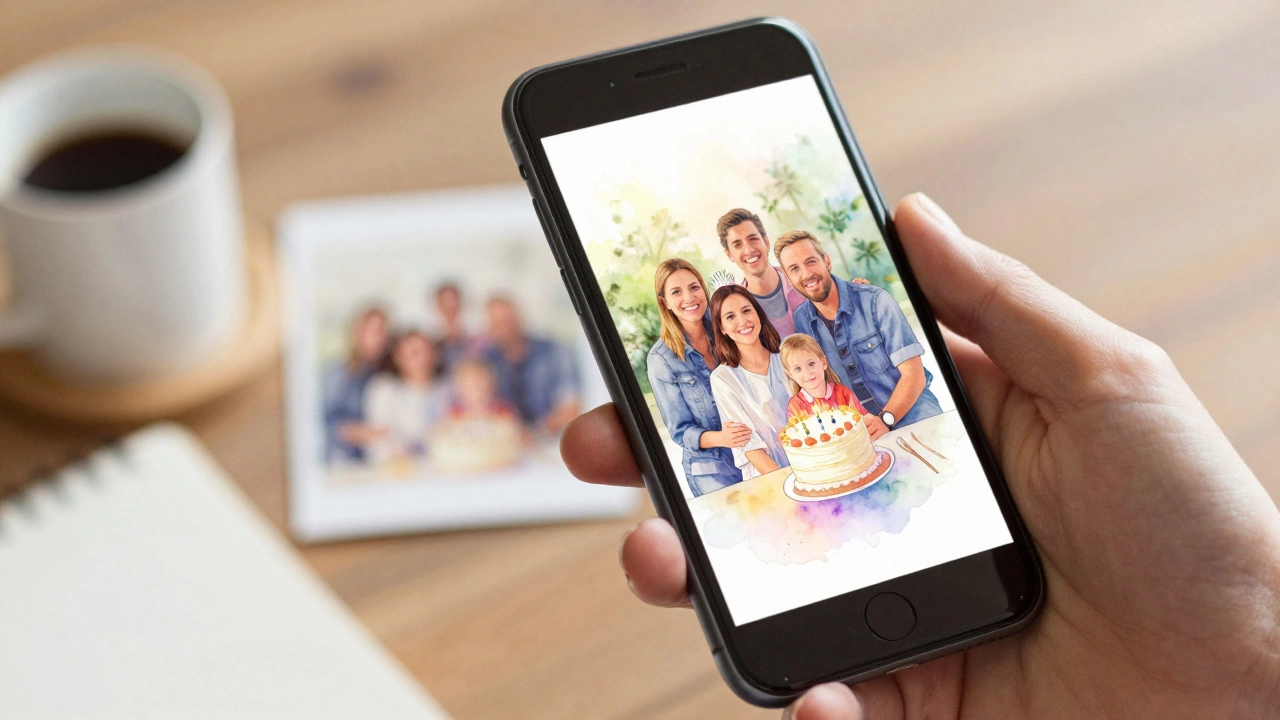
- A photo of your child’s first birthday cake, turned into a watercolor print, mounted on metal, hung in the nursery.
These aren’t fancy. They’re personal. And that’s the point.
How much does it cost?
You don’t need to break the bank:- DIY print (canvas): $25-$40 (using Shutterfly or Vistaprint)
- Professional fine art print: $80-$150 (on archival paper or metal)
- Custom AI art conversion + premium print: $120-$200 (includes artist touch-up)
- Gallery framing: Add $50-$100 if you want custom framing.
Compare that to buying a generic poster from IKEA-$15, but it’s the same image 10,000 other people own. Your photo art? Only one exists.
Can I turn a phone photo into gallery-quality art?
Yes, if the photo is high-resolution and well-lit. Modern smartphones capture images at 12-48 megapixels-enough for prints up to 20x30 inches. Use AI upscaling tools like Topaz Gigapixel if you need to enlarge it further. Avoid low-light or zoomed-in shots.
What’s the best free app to turn photos into art?
Canva is the easiest for beginners-it has dozens of art filters and lets you adjust intensity. For more control, try Photopea (free Photoshop clone) with oil paint or watercolor brushes. If you want AI magic, try DeepArt or Pixlr’s AI effects.
Should I print at home or use a professional service?
Print at home only for test prints. Professional services use pigment-based inks that last 100+ years without fading. They also offer color calibration, canvas texture options, and metal or acrylic mounting. Home printers fade quickly and can’t match the quality.
How do I make sure the colors look right?
Turn off any auto-enhance settings on your phone or computer. View your photo on a calibrated screen if possible. Most professional printers offer a test print for $5-$10. Order one before committing to the full size. If the test looks off, ask them to adjust the color profile.
Can I turn a group photo into art?
Absolutely. Group photos work best as oil paintings or abstract art, where soft focus and brushstrokes help blend faces together. Avoid watercolor for busy group shots-it can make details too fuzzy. Crop tightly on the main subjects to avoid clutter.