Luxury Curtain Calculator & Styling Guide
Calculate the correct fabric width for a full, expensive look and get personalized styling tips based on your room type.
There is nothing quite as disappointing as spending hours picking out the perfect fabric only to hang it up and realize it looks cheap. You know that feeling. The fabric might be nice, but the way it hangs, the way it catches the light, or simply how it sits on the rod makes the whole room feel unfinished. It doesn’t have to cost a fortune to look like you hired a top-tier designer in Wellington or New York. In fact, most of the tricks used by professionals are about technique, not price tags.
We often assume that expensive curtains come with a heavy price label attached to the hem. But in reality, the difference between a $50 pair and a $500 pair is usually in the details: the weight of the lining, the precision of the pleats, and the hardware holding them up. By mastering these small adjustments, you can transform basic store-bought drapes into a statement piece that anchors your entire room.
The Foundation: Choosing the Right Fabric Weight
If there is one rule in curtain styling that cannot be broken, it is this: lightweight fabrics scream "budget." Think about those thin, sheer voiles you see in entry-level apartments. They flutter around, reveal every bump in the wall behind them, and rarely fall in a clean line. To make curtains look expensive, you need gravity on your side.
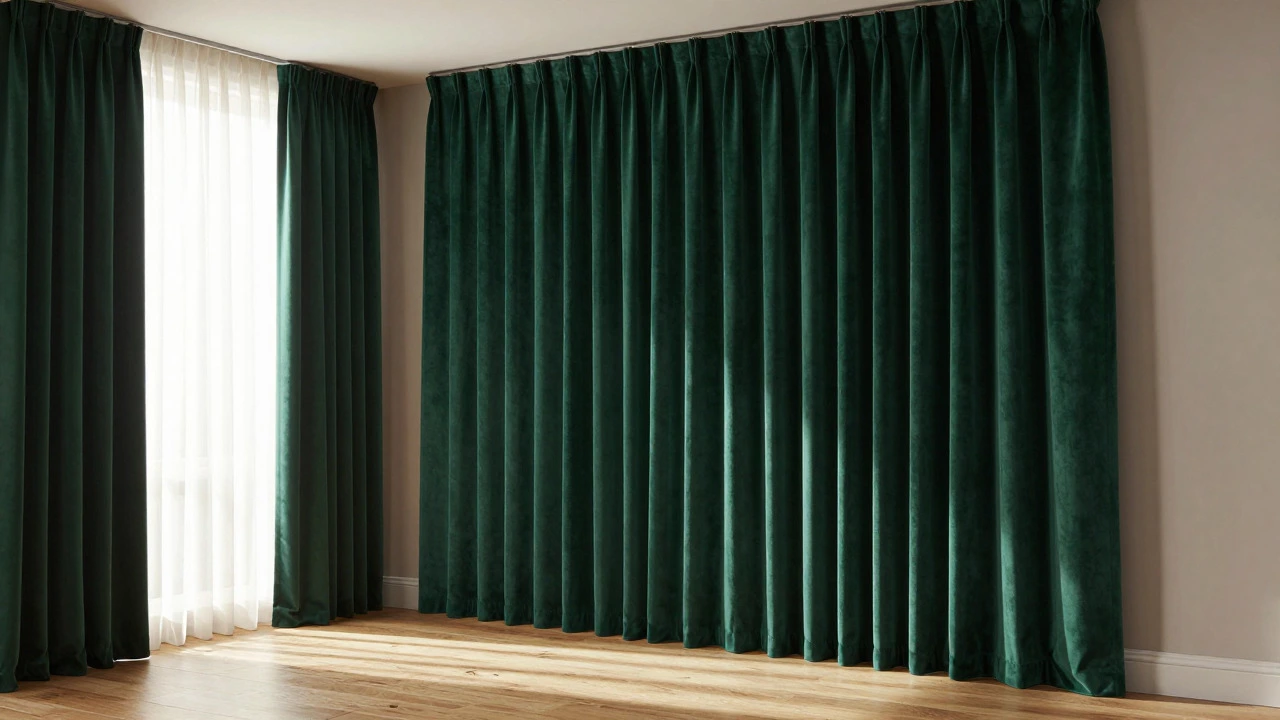
Heavyweight linen blends, velvet, or thick cotton canvas drape beautifully because they hold their shape. When you run your hand down the length of the fabric, it should feel substantial, not papery. If you are shopping online and cannot touch the material, look for grams per square meter (GSM). A good rule of thumb is to aim for anything over 200 GSM for lined curtains. This density ensures that the folds remain crisp rather than collapsing into a messy pile at the bottom.
But what if you already have lighter curtains? Do not toss them yet. You can add structure by using a interlining. This is a layer of fabric sandwiched between your main curtain and its lining. It adds bulk and warmth without changing the color. Many people skip this step to save money, but it is exactly what gives those high-end hotel rooms their plush, luxurious feel. Without it, even silk can look flimsy.
The Power of Proper Lining
Here is a secret that many DIYers miss: unlined curtains almost always look cheaper than lined ones. Even if the face fabric is gorgeous, seeing the backside through gaps when the wind blows breaks the illusion of quality. More importantly, lining affects how the curtain moves. A proper lining adds weight to the bottom edge, helping the curtain fall straight down instead of billowing out awkwardly.
You have three main options for curtain linings:
- Standard white lining: Good for general use, blocks some light, and keeps the room cooler.
- Blackout lining: Essential for bedrooms. It creates a sharp, dark contrast that makes the outer fabric color pop.
- Silver-lined backing: Reflects heat and light, adding an extra layer of insulation and a slight sheen from the inside.
For the most expensive look, choose a lining that matches the tone of your room’s trim or walls, rather than stark white, unless you want a high-contrast modern aesthetic. A tonal lining ensures that if someone walks behind the curtain, they don’t see a jarring white sheet against a dark wall. It maintains the visual integrity of the drape.
Hanging Height: The Vertical Illusion
Let’s talk about placement. One of the biggest mistakes people make is hanging the curtain rod too close to the top of the window frame. This cuts off the ceiling visually and makes the window-and the curtains-look smaller and shorter. Short curtains are the enemy of elegance.
To achieve that bespoke, custom-tailored appearance, raise the rod. Install it approximately 4 to 6 inches below the ceiling, or at least halfway between the top of the window and the ceiling. This draws the eye upward, making your ceilings appear higher and the windows more grand. It is a simple optical trick that costs nothing but changes the entire proportion of the room.
Additionally, extend the rod wider than the window frame itself. Aim for at least 3 to 6 inches of clearance on each side. Why? Because when you open the curtains, they should stack fully against the wall, not block the glass. If the curtains cover part of the window when open, they look cramped and ill-fitting. Wide stacking reveals the full view and allows the fabric to breathe, creating a sense of space and airiness that feels inherently luxurious.
Pleating Techniques That Matter
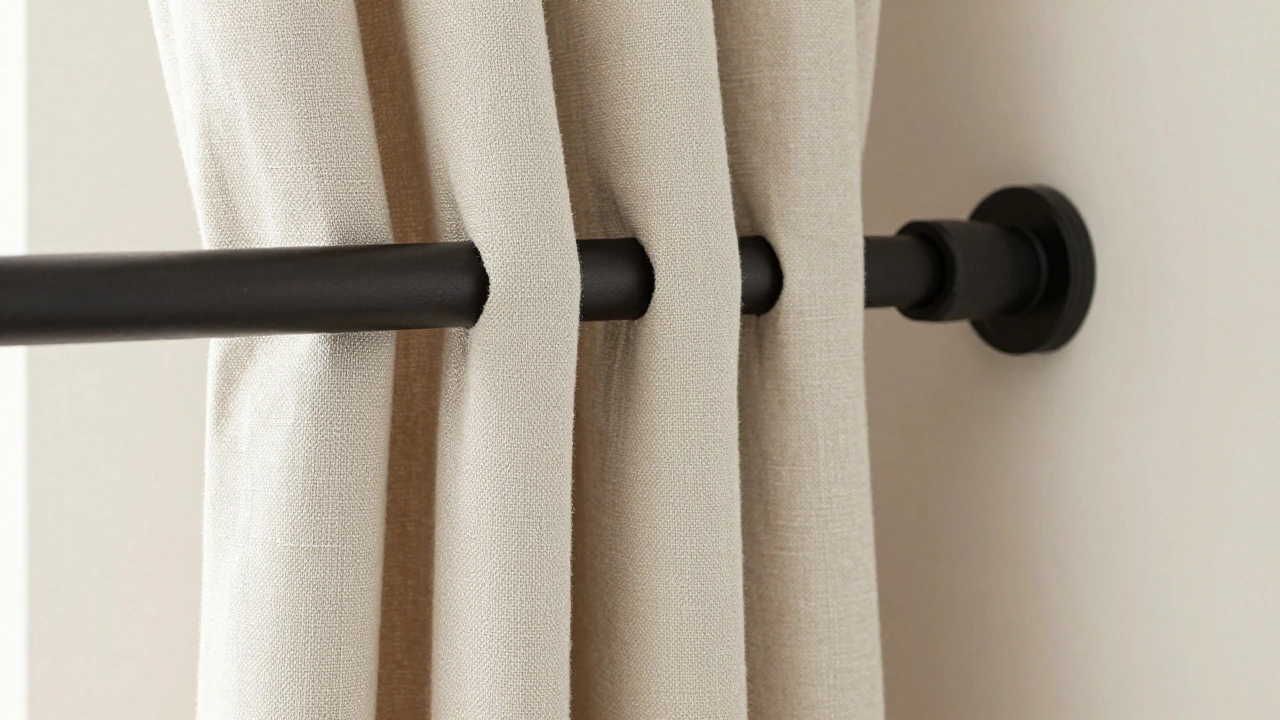
Not all hangers are created equal. Those plastic hooks that slide onto a wire rod? They create uneven bunching and look distinctly temporary. For a polished finish, invest in pinch pleat tape or ready-made pinch pleat headings. Pinch pleats are the gold standard in traditional and transitional design because they create uniform, structured folds that look tailored.
If you are sewing your own curtains, use triple pinch pleats. They are heavier and more formal than double pinches. If you are buying ready-mades, check the heading style carefully. Avoid "goblet" pleats unless you are going for a very specific vintage look, as they can sometimes appear dated. Instead, look for "euro top" or "hidden tab" styles for a modern, minimalist luxury vibe. These styles keep the hardware completely hidden, presenting a clean, uninterrupted line of fabric from top to bottom.
Consistency is key here. Ensure that every pleat is the same size and depth. Uneven pleats signal amateur workmanship. Take your time spacing them out evenly before attaching them to the rod. A quick tip: measure the total width of the rod and divide it by the number of pleats to get exact spacing markers.
Hardware: The Jewelry of Your Windows
Your curtains are the clothes; the rod is the jewelry. You wouldn’t wear a tuxedo with plastic costume jewelry, so why hang heavy velvet drapes on a flimsy aluminum rod? The right hardware elevates the entire installation. Look for solid wood rods, brass, or matte black metal finishes. Avoid shiny chrome or silver tones unless you have a very specific contemporary theme, as they can reflect light harshly and look cold.
Pay attention to the finials-the decorative ends of the rod. Simple, geometric shapes like spheres or tapered cylinders work best for a timeless look. Ornate, overly detailed finials can date a room quickly. Also, ensure the rod is long enough and sturdy enough to support the weight of your lined curtains. A sagging rod instantly ruins the silhouette of even the most expensive fabric. Use center supports for any rod wider than 48 inches.
| Material | Aesthetic Vibe | Durability | Best For |
|---|---|---|---|
| Brass/Gold | Warm, Traditional, Luxurious | High | Living rooms, dining areas |
| Matte Black | Modern, Industrial, Sleek | High | Kitchens, offices, modern homes |
| Wood | Natural, Cozy, Organic | Medium | Bedrooms, rustic decor |
| Plastic/Painted Metal | Budget, Temporary | Low | Rental properties, short-term stays |
The Hemline: Floor Length vs. Pooling
How long should your curtains be? This is a common point of confusion. There are three acceptable lengths, but only two look truly expensive.
- Floating: Half an inch above the floor. This is practical for cleaning but can look a bit short if not precise.
- Kissing the Floor: The hem just barely touches the floor. This is the safest bet for a clean, tailored look. It works in almost any room.
- Pooling: The fabric pools slightly on the floor, creating soft ripples. This is the ultimate sign of luxury, suggesting that the fabric was cut generously. However, it requires frequent vacuuming and can be a tripping hazard.
Avoid cutting curtains short to stop at the windowsill. Unless you have a radiator directly below the window that needs airflow, sill-length curtains look dated and restrictive. If you are unsure, go with "kissing the floor." It provides the elongated effect without the maintenance nightmare of pooling. Remember, if you buy ready-made curtains, you will likely need to hem them yourself. Measure twice, cut once, and consider hiring a local tailor if you are uncomfortable with a sewing machine. A professional hem is worth the small investment.
Lighting and Texture Play
Finally, consider how light interacts with your curtains. Sheer under-curtains layered behind heavy drapes add depth and dimension. During the day, the sheers diffuse natural light softly, while the heavier layers remain closed for privacy. At night, opening the heavy drapes reveals the delicate texture of the sheers, adding another layer of visual interest.
Texture is also crucial. Smooth satin can look slippery and cheap if not handled perfectly. Textured weaves like bouclé, raw silk, or heavy linen catch shadows and highlights, giving the fabric character. Even if the color is neutral, the texture provides the visual richness that makes the eye linger. Mix materials subtly-for example, pair a textured linen curtain with a smooth velvet tie-back for a sophisticated contrast.
Can I make cheap curtains look expensive without sewing?
Yes, focus on hardware and hanging height. Upgrade to a sturdy, attractive rod and hang it high and wide. Add iron-on weights to the bottom corners of the hem to help the fabric drape better. Finally, steam the curtains thoroughly to remove factory wrinkles, which immediately improves their appearance.
What is the best lining for blackout curtains?
A dedicated thermal blackout lining is best. It typically has a foam-like middle layer that blocks 99% of light and insulates against temperature changes. This type of lining is heavier, which helps the curtain hang straight and look more substantial.
Should curtains touch the floor or float above it?
For the most expensive look, curtains should either kiss the floor lightly or pool slightly. Floating half an inch above the floor is acceptable for practicality but less elegant. Avoid stopping at the windowsill unless necessary for radiators.
How wide should my curtains be for a full look?
The total width of your curtain panels should be at least 2 to 2.5 times the width of the window. This ensures that when drawn open, the fabric stacks neatly without blocking the light, and when closed, it has enough volume to look plush rather than stretched tight.
Do I need to dry clean my curtains to maintain the look?
Regular steaming is sufficient for most fabrics to remove wrinkles and refresh the drape. Dry cleaning should be done annually or bi-annually depending on dust levels. Over-washing can damage the fibers and cause shrinkage, ruining the tailored fit.