
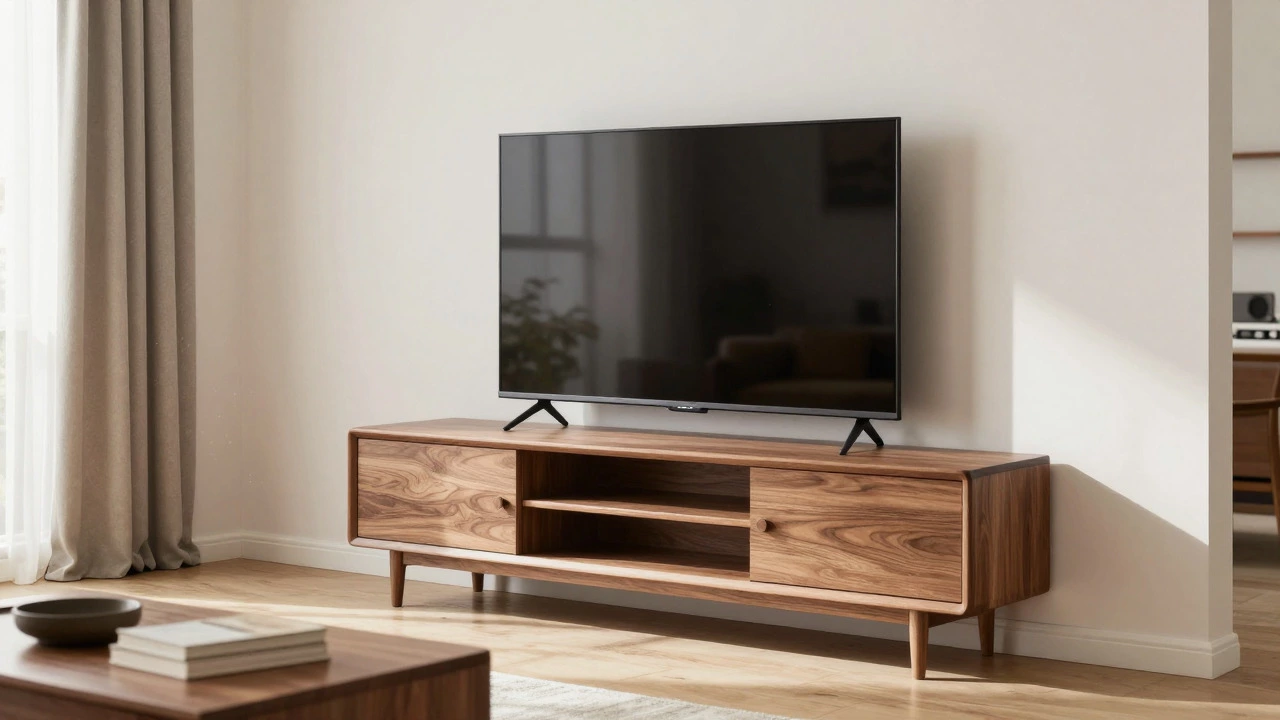
TV VESA Pattern Compatibility Checker
Check Your TV Stand Compatibility
Visual representation of your TV's VESA pattern
Compatibility Result
Enter your TV and stand specifications above, then click "Check Compatibility" to see if they match.
There is nothing quite as satisfying as finally deciding your living room layout needs a change. Maybe you bought a new TV stand that looks incredible, or perhaps you just want the flexibility to move your television around for cleaning or rearranging furniture. If your TV is currently bolted to the wall, converting it back to a freestanding setup might sound like a daunting engineering project. It isn't.
In reality, taking down a wall-mounted TV and placing it on a stand is one of the most manageable home improvement tasks you can tackle. You don’t need to be an electrician or a carpenter. You just need a bit of patience, the right tools, and a clear understanding of how your TV connects to its hardware. This guide will walk you through every step, from unplugging cables to securing the final screw, ensuring your expensive electronics stay safe throughout the process.
Gather Your Tools and Prepare the Space
Before you touch a single screw, take a moment to set up your workspace. Rushing into this without preparation often leads to stripped screws or dropped remotes behind heavy cabinets. Clear the area around your TV. Move any fragile decor, picture frames, or plants out of the way. You want a wide berth so you can maneuver the screen without knocking anything over.
You will need a few basic tools. Most modern TV mounts use standard metric bolts, so having a set of Allen wrenches (hex keys) is non-negotiable. Many mounts come with these, but if you lost them, buy a universal set; they are cheap and essential. You will also need a Phillips-head screwdriver, preferably a power drill with a low-torque setting for removing many screws quickly, though hand tightening is safer for the final removal. A soft blanket or a large piece of cardboard is crucial for laying the TV down safely once it is detached.
If you have a partner, now is the time to ask for help. Even if your TV is lightweight, managing cables while holding a screen is awkward. If you are working alone, proceed slowly and double-check your footing.
Disconnect Cables and Label Connections
The first physical step is always electrical safety. Turn off the TV and unplug it from the wall outlet. Do not skip this. Static electricity or accidental shocks can damage sensitive components. Once unplugged, focus on the cable management. Modern TVs have a jungle of connections: HDMI cables for consoles and streaming sticks, optical audio cables, Ethernet lines, and possibly antenna inputs.
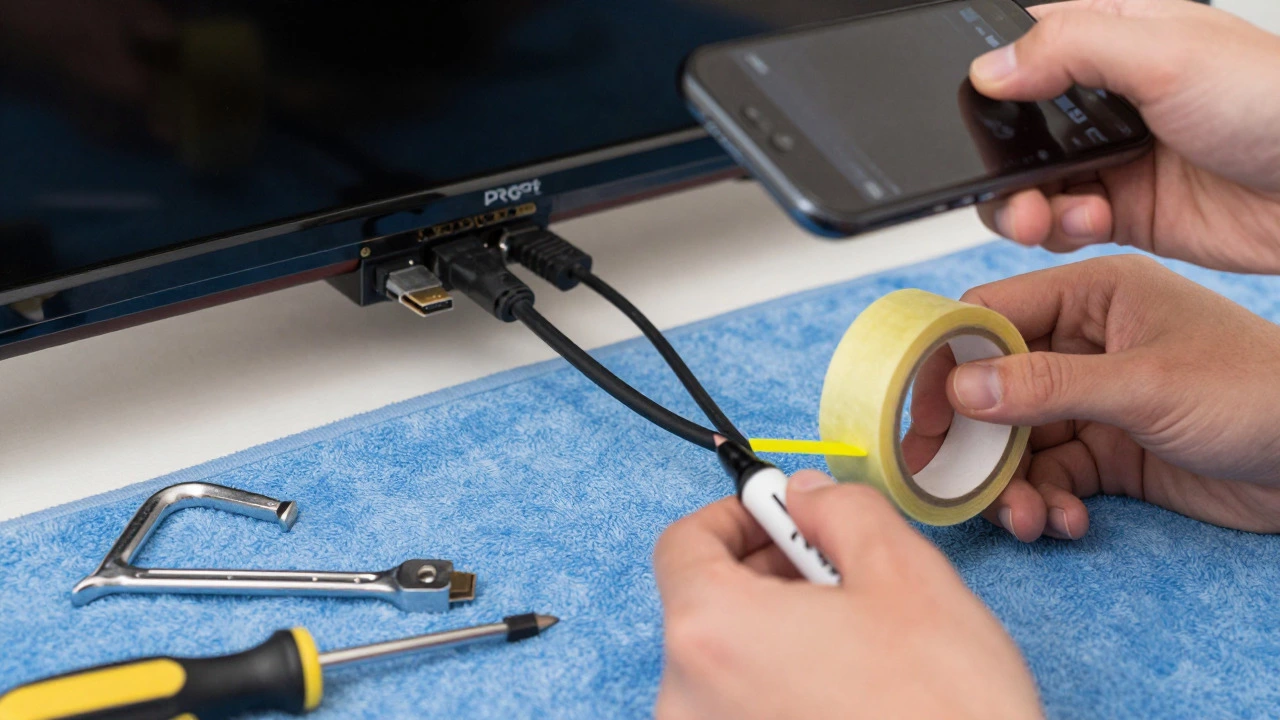
Here is where most people make mistakes: they pull cables out randomly and forget which port does what. Take a smartphone and snap a photo of the back of the TV before disconnecting anything. This visual reference saves hours of frustration later when you try to figure out why your game console isn’t showing up on the correct input. If you have multiple HDMI devices, use masking tape and a marker to label each cable end (e.g., "HDMI 1 - Xbox," "HDMI 2 - Apple TV").
Gently disconnect each cable. For tight-fitting ports, wiggle gently rather than yanking. Coil the cables neatly and set them aside in a bag or box so they don’t get tangled under the TV stand later.
Remove the Wall Mount Hardware
Now comes the main event: detaching the TV from the wall. Look at the bottom of your TV where it meets the mounting bracket. Most full-motion or fixed mounts secure the TV using two or four bolts located in the VESA mounting holes on the back of the screen. Some newer models use a locking mechanism that requires a specific key or tool provided by the manufacturer.
Identify the type of fasteners used. If they are hex bolts, insert the correct size Allen wrench. If they are Phillips screws, use your screwdriver. Loosen the bolts gradually. Do not remove them completely until you are ready to lift the TV. Keep the last thread engaged so the TV stays supported by the mount while you prepare to catch it.
Once the bolts are loose, have your helper support the weight of the TV. Slowly slide the TV downward or outward, depending on the mount’s design, to disengage it from the wall plate. Lift the TV straight up and away from the wall. Place it immediately onto the soft blanket or cardboard you prepared earlier. Never place a TV directly on a hard floor, even for a second. The glass panel is surprisingly vulnerable to pressure points.
Understand Your VESA Pattern
With the TV off the wall, inspect the back panel. You will see a grid of four threaded holes arranged in a square or rectangle. This is the VESA pattern, named after the Video Electronics Standards Association. This standard ensures compatibility between TVs and stands worldwide. Common patterns include 200x200mm, 400x400mm, and 600x400mm.
Check the user manual for your TV model to confirm the exact VESA dimensions and the maximum weight capacity of the threads. When choosing a new freestanding TV stand, ensure its mounting plate matches your TV’s VESA pattern exactly. If the holes don’t line up, the stand won’t fit. Most mid-to-large-sized TVs use 400x400mm or 600x400mm patterns. Smaller screens may use 100x100mm or 200x200mm.
If your old wall mount included a detachable plate that remains attached to the TV, you may need to remove it entirely to install the new stand’s plate. This usually involves unscrewing four small screws from the inside of the TV cabinet. Be gentle here; the plastic housing around these screws can crack if forced.
Install the New TV Stand Plate
Most modern TV stands come with a separate metal plate that attaches to the back of the TV, which then slides into the base unit. Unpack the new stand and locate the mounting plate and the required screws. Manufacturers typically provide screws of different lengths because TV back panels vary in thickness. Choose the screws that fit snugly without protruding too far through the front of the TV.
Align the plate with the VESA holes. Insert the screws by hand first to ensure they are threaded correctly. Cross-threading a screw can strip the delicate metal threads in the TV, rendering it unmountable in the future. Once all screws are started, tighten them evenly in an X-pattern (top-left, bottom-right, top-right, bottom-left). This distributes pressure evenly across the plate.
Tighten firmly but do not overtighten. You want the plate secure, not crushed against the TV casing. Use a torque-limiting screwdriver if available, or rely on feel. The plate should not wobble when you gently shake it.
Attach the TV to the Stand Base
Now, assemble the base of the TV stand according to the manufacturer’s instructions. This usually involves attaching legs, shelves, or a pedestal. Ensure the base is level and stable. If the stand has adjustable feet, tweak them so the unit sits flat on your floor. An uneven base can cause the TV to tilt forward over time.
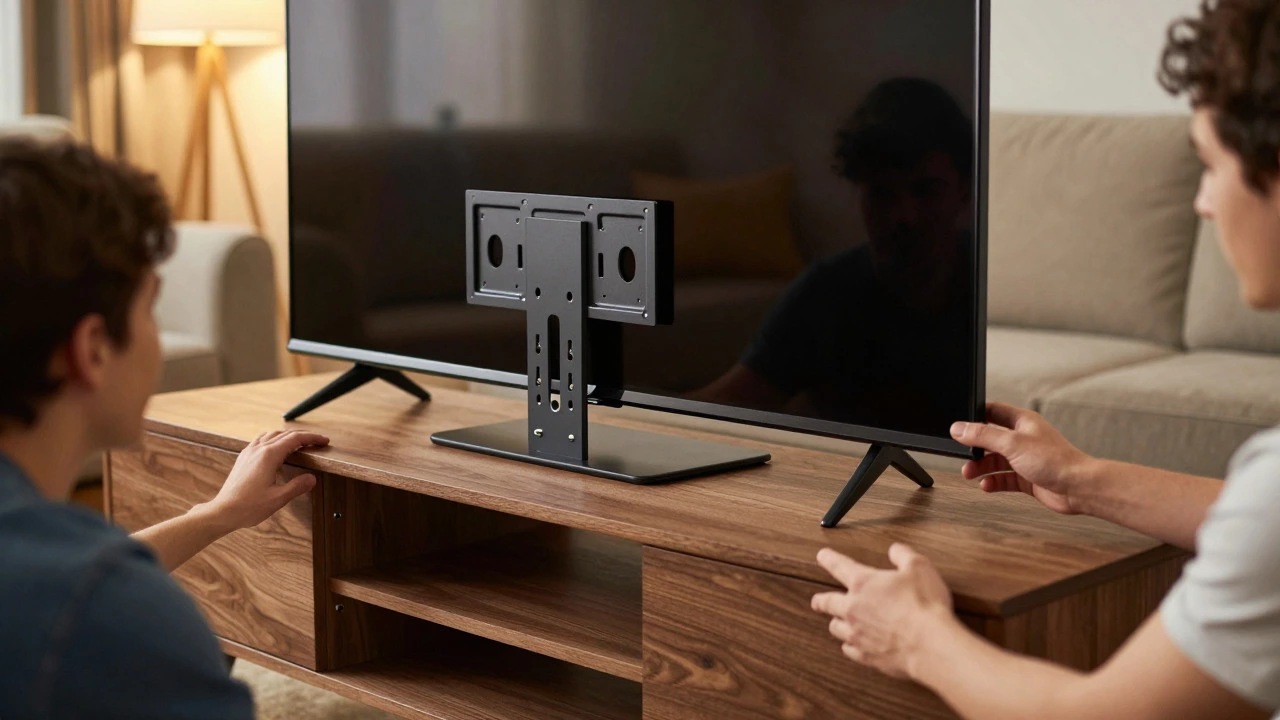
Lift the TV again. With your helper supporting the weight, align the mounting plate on the TV with the corresponding slots or hooks on the stand’s base. Slide the TV down carefully until it clicks or locks into place. Some stands require you to push the TV backward to engage a latch, while others simply rest in a cradle. Consult the stand’s manual for the specific locking mechanism.
Secure the TV to the base using the anti-tip screws provided. These are critical for safety, especially in homes with children or pets. They prevent the TV from being pulled forward and tipping over. Tighten these screws securely.
Reconnect Cables and Final Adjustments
With the TV secured to its new home, it’s time to reconnect everything. Refer to the photos and labels you created earlier. Plug in the HDMI, power, and audio cables. Route the cables neatly along the stand’s cable management channels if available. This keeps the look clean and prevents tripping hazards.
Plug the TV back into the wall outlet and turn it on. Test each input to ensure everything works correctly. Check the picture quality and sound. If you notice any issues, double-check the connections. Sometimes a cable gets bent during the move, causing signal loss.
Finally, adjust the TV’s height or angle if the stand allows. Many stands offer tilt or swivel features. Find the viewing position that feels most comfortable for your seating arrangement. Sit back, relax, and enjoy your newly reconfigured entertainment center.
Do I need professional help to remove a wall-mounted TV?
For most standard wall mounts, no. If you have basic DIY skills and a helper, you can do it yourself. However, if your TV is very large (over 75 inches), extremely heavy, or mounted on a complex articulating arm that requires disassembly, hiring a professional installer is a wise investment to avoid injury or damage.
What if my TV stand doesn't match my TV's VESA pattern?
If the VESA patterns don't match, you cannot directly attach the TV to the stand. You have two options: buy a different stand that matches your TV's VESA specifications, or purchase a VESA adapter plate. Adapter plates allow you to convert one VESA pattern to another, but they add bulk and must be rated for your TV's weight.
Should I leave the old wall mount on the wall?
It depends. If you plan to switch back to wall mounting in the future, you can leave the wall plate attached. Just cover it with a decorative panel or leave it as is. If you want a clean look, remove the entire mount. Remember to fill the drywall holes with spackle and paint over them to restore the wall's appearance.
How do I protect my TV screen during the move?
Always keep the original packaging if possible. If not, use a soft blanket, towel, or bubble wrap to cushion the screen. Lay the TV face-down on the soft surface when it is off the wall. Avoid placing objects on top of the screen, as pressure can cause dead pixels or cracks. Carry the TV by its sides, never by the screen or bezel.
Can I use the same screws from the wall mount for the new stand?
Not necessarily. Wall mount screws and stand screws often differ in length and thread type. Always use the screws provided with the new TV stand, as they are designed specifically for that hardware. Using incorrect screws can lead to poor fitment or stripped threads in the TV.