How to Install a Stand on Your Smart TV - Step‑by‑Step Guide
Learn how to safely install a stand on your smart TV with step‑by‑step instructions, tool lists, common mistakes, and maintenance tips for a clean, stable setup.
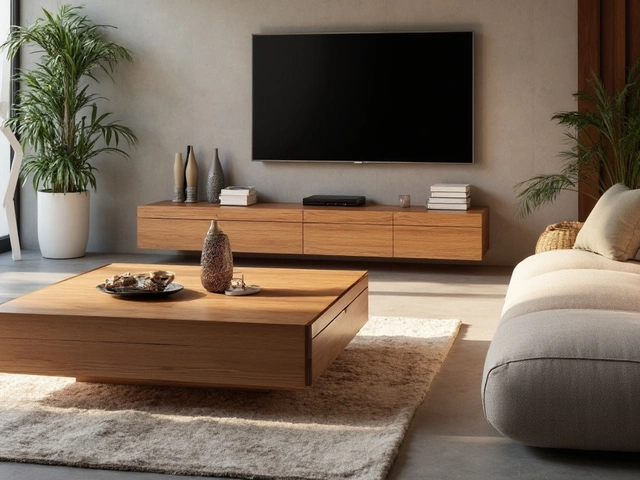
Want a TV that looks good and stays put? Mounting your TV on a stand isn’t rocket science, but doing it right makes a huge difference. A well‑installed stand keeps the screen level, hides unsightly cords, and frees up floor space for a rug or coffee table. Below you’ll find the basics you need to know, from picking the perfect size to hiding those cables like a pro.
The first step is matching the stand to your TV. Measure the width of the TV from edge to edge – that’s your starting point. A good rule of thumb is to pick a stand that’s at least as wide as the TV, ideally a few inches wider. This gives the TV a stable base and leaves room for speakers or décor.
Height matters, too. Sit on your couch and look straight ahead; the screen’s center should be about eye level. If the stand is too low, you’ll crane your neck; too high and you’ll stare up. Most designers suggest a stand height between 20 and 30 cm, but adjust based on your seating height.
Depth is often overlooked. Your TV’s back panel holds ports and cables, so the stand must be deep enough to accommodate them without the TV overhanging the edge. A depth of 40‑50 cm works for most modern flat‑screens. If you have a larger TV, add a few centimeters for safety.
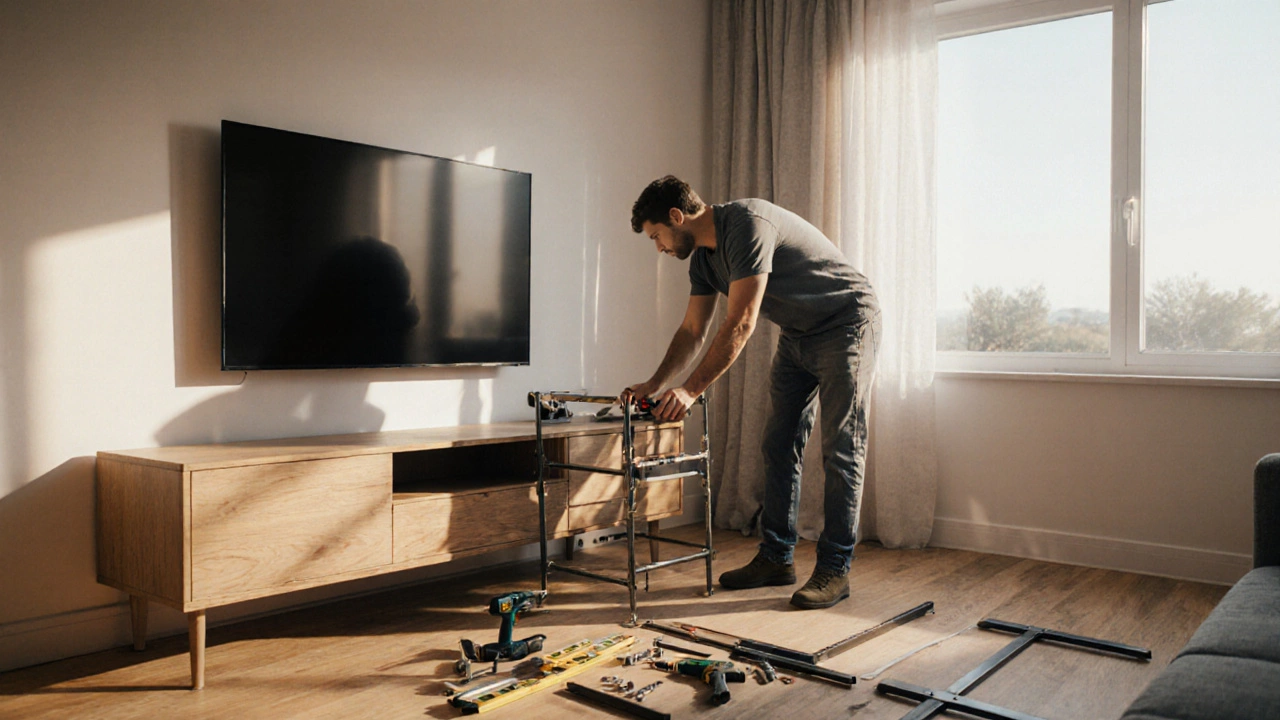
Now that you have the right dimensions, it’s time to secure the stand. Start by finding wall studs – these are the strongest spots to anchor any brackets. Use a stud finder or tap the wall to locate solid wood. If studs aren’t in the right place, use wall anchors rated for the weight of your TV.
Next, attach the mounting brackets to the TV’s VESA pattern. Most screens have pre‑drilled holes; check the user manual for the bolt size. Tighten the bolts snugly, but don’t over‑tighten – you don’t want to strip the threads.
Lift the TV onto the stand (or have a friend help) and line up the brackets. Once it clicks into place, double‑check that the unit sits level using a bubble level. Adjust as needed before tightening the final screws.
Cable clutter is the biggest eyesore after mounting. Run all cords through a drilled hole in the back of the stand, then use cable clips or a cord cover to keep them neat. If the stand has a built‑in cable channel, slide the wires inside – it looks clean and protects them from accidental pulls.
For a truly sleek look, consider a power strip that mounts inside the stand. This lets you power the TV, sound system, and streaming devices from a single outlet, eliminating multiple plugs on the wall.
Finally, test the setup. Turn on the TV, switch inputs, and make sure nothing rattles. If the stand feels wobbly, tighten all connections and verify that the wall anchors are holding firm.
Mounting a TV on a stand isn’t just about aesthetics; it protects your screen from accidental bumps and makes cleaning easier. With the right size, solid mounting, and tidy cables, you get a polished look that lasts for years. Ready to upgrade your living room? Grab a stand that fits, follow these steps, and enjoy a sleek, safe TV setup today.
Learn how to safely install a stand on your smart TV with step‑by‑step instructions, tool lists, common mistakes, and maintenance tips for a clean, stable setup.