Television Setup Made Simple: Your Quick Guide to a Perfect Install
Got a new screen and wondering how to get it looking great without a headache? You’re not alone. Most people stare at the box, read the tiny manual, and end up with a wobbling TV or a mess of cables. Below are the must‑do steps that any DIY‑enthusiast can follow, no fancy tools required.
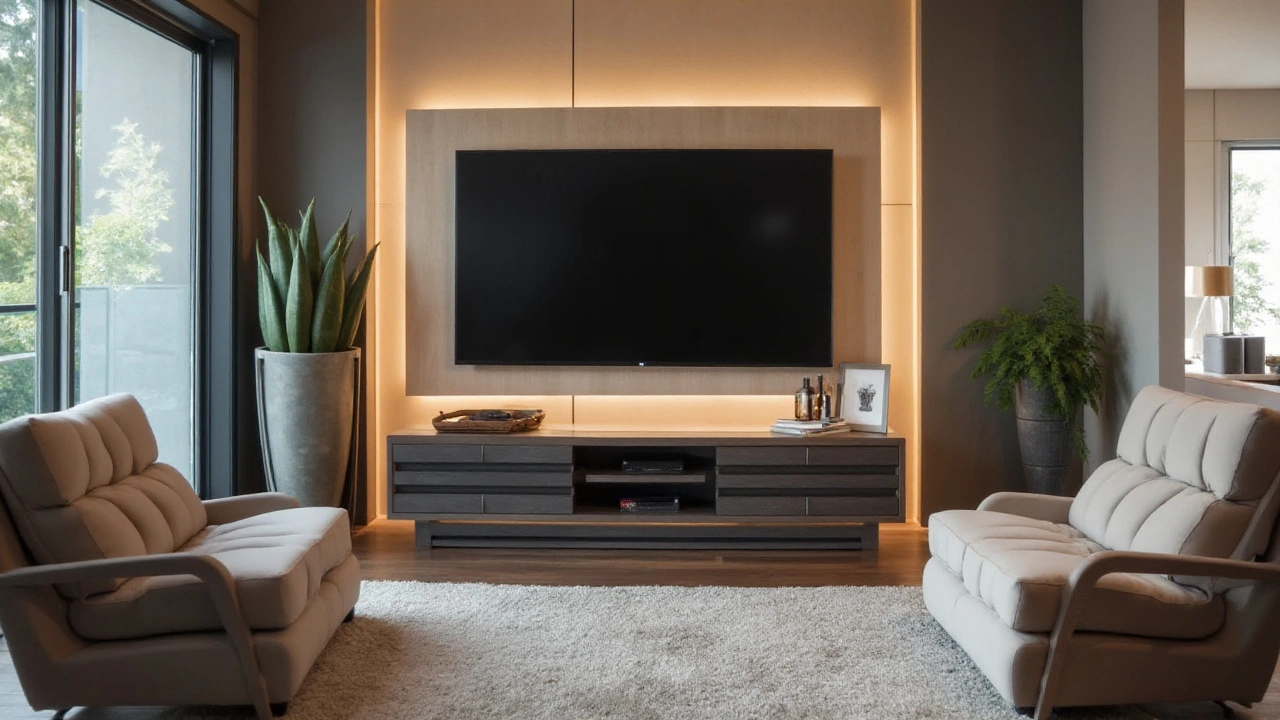
1. Pick the Right Spot and Mount
First, decide where the TV will live. Measure the viewing distance – a good rule is the screen width multiplied by 1.5 to 2.5. If you’re using a wall mount, choose a stud‑filled area or use a sturdy toggle bolt for drywall. A tilt mount helps reduce glare, while an articulating arm gives you flexibility for different seating spots. Before you drill, double‑check that the mount’s weight rating matches your TV’s specs.
2. Manage Cables Like a Pro
Messy cords ruin an otherwise sleek setup. Run HDMI, power, and speaker cables through a wall chase or a decorative conduit. If you can’t hide them behind the wall, use a cable cover that paints over. Label each cord at both ends – it saves a lot of time when you need to troubleshoot later. A small power strip with surge protection keeps everything safe and gives you extra outlets for a soundbar or game console.
Now, hook up the basics. Connect the HDMI from the TV to your source – whether it’s a streaming box, console, or Blu‑ray player. If you have a sound system, run an optical or ARC cable from the TV to the receiver. Turn everything on and run the TV’s auto‑setup to calibrate picture settings. Most modern TVs have a “Game Mode” or “Cinema Mode” that optimizes colors and response time for different uses.
Don’t forget the Wi‑Fi. Position the router or a mesh node within a few feet of the TV for a strong signal. If your internet is spotty, an Ethernet cable gives the most reliable connection, especially for 4K streaming.
Finally, tidy up the area. Use Velcro straps to bundle any leftover cords, and place small decorative items like a plant or a framed photo to balance the visual weight. A clean, organized setup not only looks better but also makes future upgrades easier.
With these steps, you’ll have a TV that looks professional and works flawlessly. No need to call a technician; a bit of planning and the right tools get the job done fast.